Discovering an E1 F9 error code flashing on your dishwasher can be a frustrating experience, disrupting the seamless flow of your kitchen routine. However, fear not – understanding how to tackle this error is the first step toward restoring your dishwasher’s optimal functionality. In this comprehensive guide, we will delve into the intricacies of the E1 F9 error code, exploring its origins and, more importantly, providing you with a step-by-step roadmap to troubleshoot and fix the issue. Say goodbye to the inconvenience and hello to a smoothly running dishwasher as we navigate through the solutions to resolve the E1 F9 error code. Let’s dive in and reclaim the efficiency of your kitchen companion.
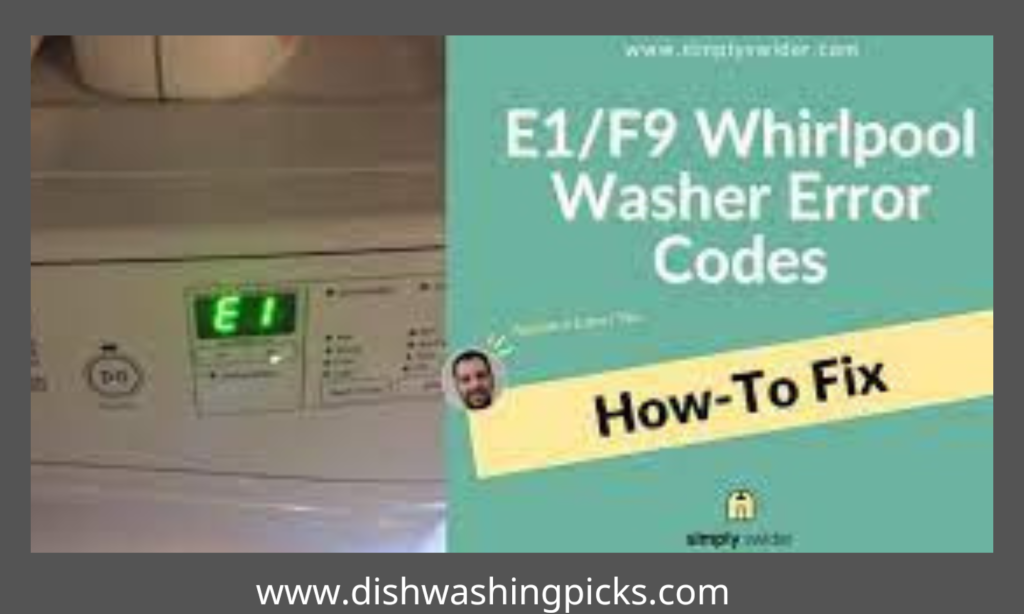
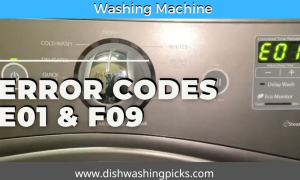
How to fix e1 f9 error code on dishwasher
Step-by-Step Guide: Resolving the E1 F9 Error Code on Your Dishwasher So, you’ve encountered the notorious E1 F9 error code on your dishwasher – a hiccup that can disrupt your kitchen rhythm. Before you start stressing about the dirty dishes piling up, let’s take a methodical approach to get your appliance back on track. Follow these simple steps, and you’ll have that error code banished in no time:
Step 1: Power Down and Restart
Begin with a clean slate by turning off your dishwasher and unplugging it from the power source. Give it a few moments of rest, then plug it back in. This might sound like a classic IT solution, but often, a simple power cycle can do wonders.
Step 2: Locate and Clean the Filters
Dishwashers, like any hardworking team member, need their filters cleaned regularly. Find your dishwasher’s filter location – usually at the bottom – and pull it out. Rinse it under warm water to remove any trapped debris or food particles. Clean filters mean a happy dishwasher.
Best drinking glasses for dishwasher (Best 7 suggestions)
Think of the filter as your dishwasher’s superhero cape – when it’s clean, your dishwasher can conquer any dirty dish.
Step 3: Untangle the Drain Hose
Let’s check the plumbing. Locate the drain hose – often found at the back of the dishwasher – and make sure it’s not twisted or clogged. Remove any potential obstructions, ensuring a clear path for water to escape. It’s like giving your dishwasher a straight road home for the dirty water.
Picture the drain hose as a highway for your dishwasher’s wastewater – no traffic jams allowed.
Step 4: Check the Drain Pump
Now, let’s investigate the drain pump, your dishwasher’s own heart. Ensure its securely in place and free from any foreign objects. Sometimes, a loose pump or an unwanted item stuck in its vicinity can trigger the E1 F9 error.
The drain pump is the beat that keeps your dishwasher’s cleaning dance in rhythm – let’s make sure it’s in perfect harmony.
Step 5: Pressures and Switches
If the error persists, let’s dive a bit deeper. Check the pressure switch – a component responsible for signaling the water level. Ensure its functioning correctly, and if needed, consult your dishwasher’s manual for specific testing instructions.
Step 6: Control Board Inspection
Lastly, if all else fails, inspect the control board. Look for any visible damage, loose wires, or burn marks. If you discover an issue beyond your expertise, it might be time to call in the professionals.
Congratulations. You’ve just tackled the E1 F9 error code on your dishwasher like a seasoned troubleshooter.
Remember, patience is the key, and your efforts will pay off with a dishwasher that’s back in the game, ready to tackle the next load of dishes with gusto.
Understanding the E1 F9 Error Code
So, you’ve opened your dishwasher only to be greeted by the enigmatic E1 F9 error code. Don’t let those two characters throw you off – let’s break it down together. Understanding the error is the first step toward conquering it:
Step 1: Decoding the E1 F9 Combo
“E1” usually points to an issue with the dishwasher’s drain pump, and “F9” signals a problem with draining. In simple terms, your dishwasher is having trouble getting rid of water efficiently. Now, let’s figure out why.
Step 2: Common Culprits of the E1 F9 Error Code
More often than not, this error is triggered by a combination of factors:
Blocked Filters: Filters are like the bouncers at a club – they keep out the undesirables. If they’re clogged, water can’t flow freely.
Tangled Drain Hose: Imagine a kink in a hose – water struggles to get through. Your dishwasher’s drain hose faces a similar challenge when twisted or obstructed.
A Wobbly Drain Pump: The pump is the maestro conducting the draining symphony. If it’s loose or malfunctioning, chaos might ensue.
Think of your dishwasher as a storyteller – it’s signaling to you that the “water drainage chapter” needs a little editing.
Choosing the Best Air Gap for Dishwasher
Step 3: Diagnosing the “Why” Behind E1 F9
Reflect on recent dishwasher experiences. Did you notice unusual sounds during the last wash? Have you been a bit lax on filter cleaning? Understanding the context can often reveal the root cause.
Your dishwasher is like a detective dropping clues – pay attention, and you’ll crack the case.
Step 4: Appreciating the Dishwasher’s Communication
Remember, your dishwasher isn’t trying to be cryptic with the E1 F9 error. It’s attempting to communicate, saying, “Hey, something’s off, and I need your help to fix it.” It’s a partnership, and decoding the error is your part of the deal.
Imagine the E1 F9 error as a friendly wave from your dishwasher, asking for a little troubleshooting companionship.
Step 5: Embracing the Fixing Journey Ahead
Now that you’ve unraveled the mystery behind the E1 F9 error, you’re equipped to embark on the fixing journey. Follow the subsequent steps in our guide, and you’ll soon have your dishwasher back to its efficient, water-draining self.
Understanding the E1 F9 error is like deciphering a message from a friend – it might seem complex at first, but once you’ve got the hang of it, you’ll find that solving the puzzle is just a series of logical steps. Your dishwasher will thank you with squeaky-clean dishes in no time!
Preparing for Fixing the Error
Alright, before we dive into the nitty-gritty of fixing the E1 F9 error on your dishwasher, let’s set the stage. Think of this as the calm before the troubleshooting storm – a moment to gather your tools and ensure a smooth process:
Step 1: Safety First
Before anything else, safety is paramount. Disconnect the power supply to your dishwasher. Unplug it or switch off the circuit breaker, ensuring you’re free from any electrical hazards. Your safety is our top priority.
Step 2: Gather Your Tools
Like any good handyman, you’ll need a toolkit. Here’s a quick checklist:
- Screwdriver: For removing panels if needed.
- Towels or Rags: Cleanup is inevitable, so be prepared.
- Bucket or Container: Trusty sidekick for collecting water, just in case.
- Storytelling Tip: Think of your tools as the supporting characters in this fixing saga – each playing a vital role in the storyline.
Step 3: Review Your Dishwasher’s Manual
Now, let’s consult the manual – your dishwasher’s user guide. It’s the script for this repair performance. Look for specific instructions on troubleshooting the E1 F9 error. Manuals are often hidden gems of wisdom.
Choosing the Best Air Gap for Dishwasher
Consider the manual as the wise mentor guiding you through this adventure – don’t hesitate to seek its counsel.
Step 4: Get a Clear View
Find a well-lit space with ample room to work around your dishwasher. A clear workspace ensures you can navigate around the appliance easily. The last thing you need is a cramped setting complicating your troubleshooting mission.
Imagine your dishwasher as the main character on a stage – a well-lit, spacious stage ensures a smooth performance.
Step 5: Patience and a Positive Mindset
Fixing an error, even a seemingly straightforward one like E1 F9, requires patience. Approach it with a positive mindset. Think of it as a puzzle to solve rather than a problem to conquer. Your calm demeanor will make the process smoother.
Picture yourself as the hero in a DIY tale – facing challenges with a can-do attitude and emerging victorious.
With your safety ensured, tools at the ready, script (manual) in hand, and a positive mindset, you’re now prepared to tackle the E1 F9 error on your dishwasher. The fixing journey awaits – let’s get started!
Tips for Preventing Future E1 F9 Errors
Congratulations on successfully resolving the E1 F9 error on your dishwasher! Now, let’s talk about the future – how to keep your dishwasher humming along without any hiccups. Follow these practical tips to prevent those pesky error codes from making a return appearance:
Step 1: Regular Filter TLC
Just like a friend needs a helping hand now and then, your dishwasher’s filters appreciate some care. Make it a habit to clean the filters regularly. A quick rinse under warm water can work wonders in keeping them debris-free.
Step 2: Mind the Drain Hose
Prevent twists and turns in your dishwasher’s life – regularly check the drain hose for any kinks or obstructions. Think of it as untangling a necklace; a smooth flow ensures a trouble-free drainage process.
Step 3: Embrace Gentle Detergents
Your dishwasher’s digestive system prefers gentle, dishwasher-friendly detergents. Opt for products specifically designed for dishwashers, avoiding abrasive or overly foamy detergents that might disrupt the cleaning harmony.
Conclusion
In the world of dishwashers, encountering the E1 F9 error code may initially feel like a disruption in the daily symphony of kitchen routines. However, armed with our step-by-step guide, you’ve not only deciphered the error but also conquered its challenges.