
Alright, so you’re looking to remove your Maytag dishwasher, huh? Maybe you’re upgrading to a fancier model, or maybe your old dishwasher’s just giving you more problems than it’s worth. Either way, you’ve come to the right place! I promise, it’s not as complicated as it sounds. In fact, with a few simple steps and the right tools, you’ll have that dishwasher out of your kitchen and ready for its next chapter.
You’re probably thinking, “Can I really do this myself?” Well, the answer is yes! It’s definitely possible. Sure, you could call in a professional, but who doesn’t love a little DIY challenge? Plus, you’ll save some money and get that sweet sense of accomplishment. So, grab your tools, roll up your sleeves, and let’s get to it!
Step 1: Turn Off the Power
Before you do anything, let’s get the most important step out of the way – safety. First, you’ve got to turn off the power to the dishwasher. We don’t want any unexpected electrical surprises, right? So, head over to your breaker box and flip the switch for the dishwasher. If you’re feeling extra cautious, you can always unplug it from the wall, but turning off the power at the breaker should be enough.
You might be thinking, “I’m not an electrician!” Don’t worry – this is a pretty straightforward step. Just make sure you’ve completely cut off the power before moving on to the next one.
Step 2: Disconnect the Water Supply
Next up, we need to disconnect the water supply. This is an easy one – the dishwasher’s water line is usually connected to the sink’s water supply under the counter. Grab a wrench, locate the water valve, and give it a twist to shut off the water. You’ll want to have a towel or a small bowl nearby to catch any water that might drip out when you disconnect the hose.
If the hose is really stuck, try using a pair of pliers or some muscle. If you’re worried about water leakage, a bucket underneath can catch any extra drips. Not to worry, though – this part is usually quick and painless.
Step 3: Detach the Dishwasher from the Cabinet
Now comes the fun part – getting the dishwasher actually out of the cabinet. Most dishwashers are secured by screws along the top, connecting them to the underside of your counter. Take a screwdriver (or drill, if you’re feeling fancy) and remove the screws. Keep track of these because you’ll need them later when you’re putting the new dishwasher in (or for whatever project you’re up to next!).
You’ll also want to check around the sides of the dishwasher for any other screws or clips holding it in place. Once all the screws are out, you should be able to gently pull the dishwasher away from the cabinet. If it’s stuck, give it a little wiggle, but don’t go pulling too hard – we’re not trying to tear the kitchen apart here!
Step 4: Disconnect the Drain Hose
Before the dishwasher can fully come out, we’ve got to disconnect the drain hose. This hose typically connects either to the sink drain or garbage disposal, so just follow it and find where it’s attached. Use a wrench to loosen the clamp, and then carefully remove the hose. There might be some water left in the line, so have that towel ready for any drips.
This step is simple but can sometimes be a little tricky if the hose is really tight. Just keep calm and loosen it bit by bit until it comes free.
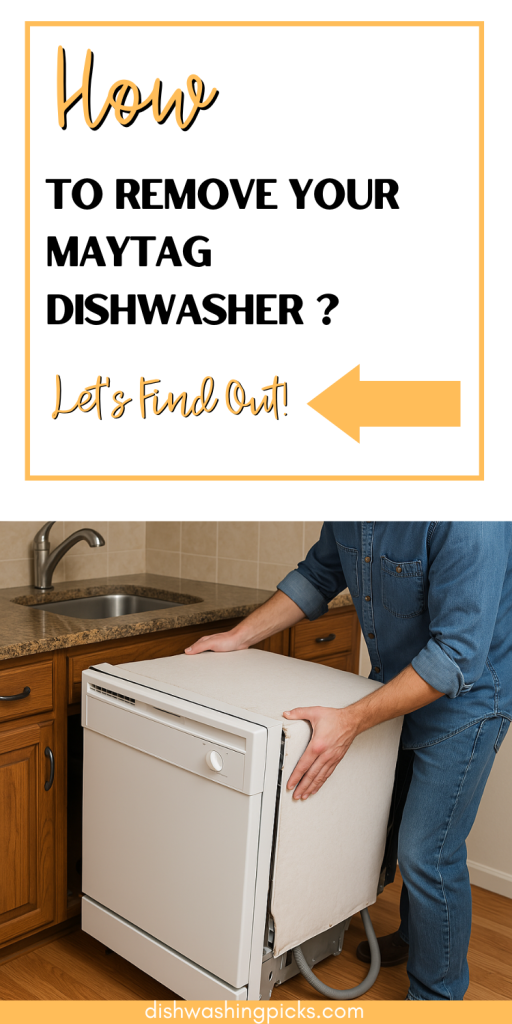
Step 5: Slide Out the Dishwasher
Alright, we’re almost there! Now that all the connections are off, it’s time to slide the dishwasher out of its spot. This is usually the part where people get stuck, but don’t stress. With the power, water, and drain lines disconnected, all you need to do is carefully pull the dishwasher out. It might take a little elbow grease, but nothing you can’t handle.
If it’s really jammed in there, try rocking it gently back and forth to loosen it up. You can also use a pry bar if needed, but be super careful not to scratch your cabinets or floor.
Step 6: Final Touches
Once the dishwasher is out of the way, take a minute to clean up any mess left behind – you might have some water spilled under the dishwasher, or maybe a little dust buildup. It’s always nice to give the space a quick once-over before you put anything else back.
And there you have it – you’ve successfully removed your Maytag dishwasher! Whether you’re replacing it or just taking a break from dishwashing duties for a bit, you can now take a deep breath and enjoy the satisfaction of a job well done. Feel free to pat yourself on the back!
Look at you, all handy and stuff! Removing a dishwasher doesn’t have to be a big hassle – with a little patience and the right steps, you can handle it yourself. And hey, even if you were nervous about getting your hands dirty, you can now proudly say you’ve done it!
So, what’s next? Are you installing a new dishwasher? Or maybe you’re just enjoying the extra space in your kitchen? Whatever it is, remember that you tackled this job like a pro. And the next time something breaks, you might just surprise yourself with what you’re capable of.
If you’re ready to install that new dishwasher or need any more tips, feel free to give this guide another glance. Until then, enjoy your newfound freedom from the dishwasher – or, well, your next kitchen project!