Why You Even Need to Clean Your Mat
Ever rolled out your yoga mat, got into downward dog, and thought, “Hmm… why does this smell like a locker room?” Don’t worry, you’re not alone. Yoga mats, as calming as they look, can actually become a sneaky trap for sweat, dirt, and bacteria over time. And if you’re practicing regularly, your mat is basically your second home—so keeping it fresh matters.
Now, sure, you could buy one of those pricey sprays at the store. But why not make your own? It’s cheaper, eco-friendly, and honestly kind of fun. Plus, you get to control the ingredients (no hidden chemicals here!). Let’s walk through exactly how to whip up a cleaner that’ll keep your mat as fresh as your practice.
Section 1: The Basics – What You’ll Need
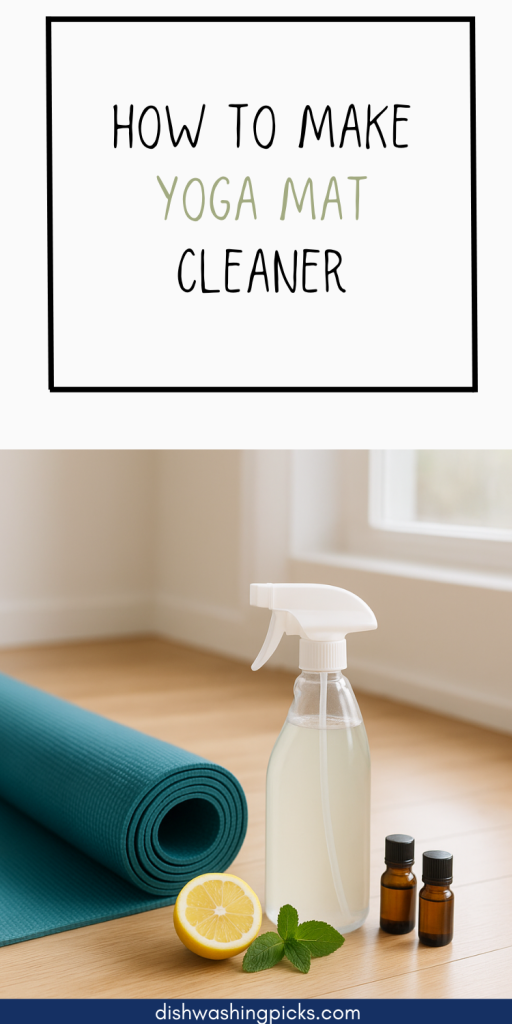
Okay, first things first—ingredients. You’ll be surprised how simple this is. Here’s the basic lineup for a DIY yoga mat cleaner:
- Water – the base of your spray (distilled is best to avoid residue).
- White vinegar or witch hazel – natural disinfectants.
- Essential oils – like tea tree (antibacterial) or lavender (calming scent).
- A spray bottle – preferably glass, but plastic works too.
That’s it. Nothing fancy. No need to hunt down obscure items—you probably already have most of these at home.
Now, you might be wondering: “Wait, vinegar? Won’t my mat smell like salad dressing?” Good question. The trick is using just the right amount and balancing it with a few drops of essential oil. The vinegar smell fades as it dries, leaving behind only the fresh, clean scent of the oils.
Section 2: The Step-by-Step Recipe
Here’s the fun part—mixing it all together.
- Fill your spray bottle halfway with distilled water.
This gives you a clean, residue-free base. - Add ¼ cup of white vinegar or witch hazel.
Both work well, but witch hazel is gentler if your nose isn’t a fan of vinegar. - Add 10–15 drops of essential oils.
Tea tree oil is the hero here—it’s naturally antibacterial. Pair it with lavender for a calming touch, or eucalyptus if you like that spa-like vibe. - Shake it up.
Give the bottle a good swirl before each use to make sure everything mixes well.
Boom. You’ve just made your own yoga mat cleaner. Easy, right?
Imagine this: after a sweaty session, instead of rolling up a grimy mat, you spritz it with your homemade cleaner, wipe it down, and—voilà—it smells like a mini spa day.
Section 3: How to Actually Use It (Without Ruining Your Mat)
Here’s the thing: not all mats love water. If yours is porous, drenching it might shorten its life. The trick? A light mist and a quick wipe.
- Spritz lightly across the surface. Don’t soak it.
- Wipe with a soft cloth. Microfiber is perfect.
- Let it air dry. Unroll it in a cool spot and let the cleaner do its job.
Do this once or twice a week, depending on how often you practice. If you’re doing hot yoga daily, you’ll want to clean it more often (trust me, your nose will thank you).
Section 4: Extra Tips for Mat Longevity
Now that you’ve got the cleaning down, here are some bonus habits to keep your mat in top shape:
- Wash your hands and feet before practice. Less dirt goes onto the mat in the first place.
- Don’t roll it up wet. Always let it dry completely to avoid mildew.
- Store it in a cool, dry place. Not the back of your car in the middle of summer. (Yep, guilty!)
Little tweaks like these can make your mat last way longer—and keep it from becoming that one mat in the studio nobody wants to be near.
Your Mat, Your Ritual
At the end of the day, cleaning your yoga mat isn’t just about hygiene—it’s part of the ritual. Think of it as a mini act of self-care. You cared for your body during practice, and now you’re caring for the space that supports you.
And the best part? You did it without spending a fortune or spraying who-knows-what chemicals on your mat. Just a simple, DIY solution that works.
So, next time you roll out your mat, take a deep breath. Fresh, clean, calming. Exactly the vibe yoga is supposed to be.