The Problem We’ve All Faced
You know that moment—you’re standing in front of your whiteboard, ready to brainstorm the next big idea, jot down some notes, or maybe even play “Pictionary” with the kids. And then it hits you: ghost marks. Faint, smudgy lines that just won’t budge, no matter how much you scrub. Annoying, right?
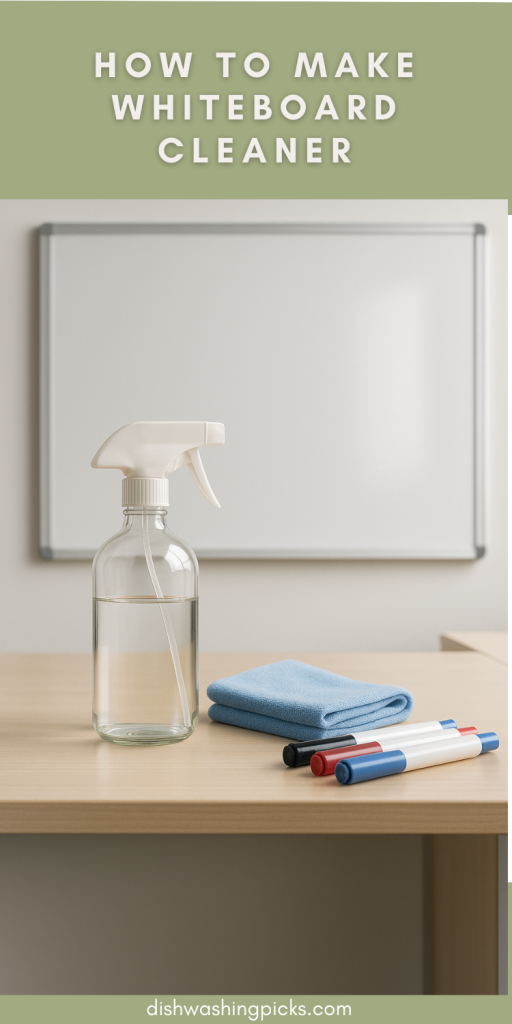
Most people grab the nearest tissue or, worse, lick their finger (yes, we’ve all done it at least once) to rub off the stains. But here’s the kicker: you don’t actually need fancy sprays or pricey cleaners. You can make your own whiteboard cleaner at home—quickly, cheaply, and with stuff you probably already have lying around.
So, ready to learn a little DIY magic? Let’s get into it.
The Basics: Why Whiteboards Get Stained
Before we start mixing, let’s pause for a second. Why does your whiteboard even look like a crime scene after a few weeks of use?
Well, it’s simple. The markers are dry-erase, not magic-erase. Over time, ink pigments settle into the tiny pores on the board’s surface. Add in dust, fingerprints, and that one time you used a permanent marker by mistake (oops), and suddenly your whiteboard doesn’t look so white anymore.
Here’s the good news: the same everyday ingredients that cut through grease, grime, and sticky messes can also bring your board back to life. Which brings us to the fun part…
DIY Whiteboard Cleaner Recipes (Pick Your Favorite)
Imagine this: you’re about to start your meeting or lesson, and instead of panicking about the mess on your board, you whip out your very own homemade cleaner. Feels empowering, doesn’t it?
Here are a few tried-and-true recipes you can make right now:
- The Classic Vinegar Mix
- 1 cup water
- 1 tablespoon white vinegar
- Mix in a spray bottle, shake well, and spritz away.
(Perfect for everyday use, plus it’s eco-friendly.)
- 1 cup water
- The Alcohol Power Clean
- 1 cup rubbing alcohol (70% or higher)
- 1 cup water
- Combine in a spray bottle.
(Great for stubborn stains or “ghosting” marks.)
- 1 cup rubbing alcohol (70% or higher)
- The Gentle Dish Soap Combo
- 2 cups warm water
- A few drops of dish soap
- Mix in a container, dip a soft cloth, and wipe down your board.
(Safe for boards that are a bit more delicate.)
- 2 cups warm water
Pro tip: If you’re ever in a pinch—hand sanitizer or even a dab of toothpaste can do the trick. Crazy, but true.
Tips to Keep Your Whiteboard Cleaner, Longer
Now, here’s where most people go wrong. They clean the board once, and then… forget about it until it’s a mess again.
A little routine goes a long way. Try this:
- Wipe daily: Even if it doesn’t look dirty, wiping helps prevent stains from setting.
- Use the right cloth: Microfiber beats tissues every time. No lint, no streaks.
- Avoid harsh cleaners: Bleach and ammonia can damage the board’s surface. Stick to the gentle DIY mixes.
- Check your markers: Sometimes the problem isn’t the board—it’s old, cheap, or dried-out markers.
Imagine it like brushing your teeth: do it regularly, and you’ll avoid a bigger headache later.
Cleaner Boards, Cleaner Thoughts
At the end of the day, a whiteboard is more than just a shiny surface. It’s where ideas are born, lessons are taught, and yes, where doodles come alive when you’re bored on a Zoom call. Keeping it clean doesn’t have to be a chore—and now you’ve got the recipes and tricks to make it happen.
So next time your whiteboard looks like it’s been through a storm, skip the store-bought sprays. Grab your vinegar, alcohol, or dish soap, and mix up your own cleaner. It’s cheaper, safer, and honestly kind of satisfying.
Now—are you ready to give your whiteboard the glow-up it deserves? Go ahead, try one of these DIY cleaners today, and watch those ghost marks vanish like magic.