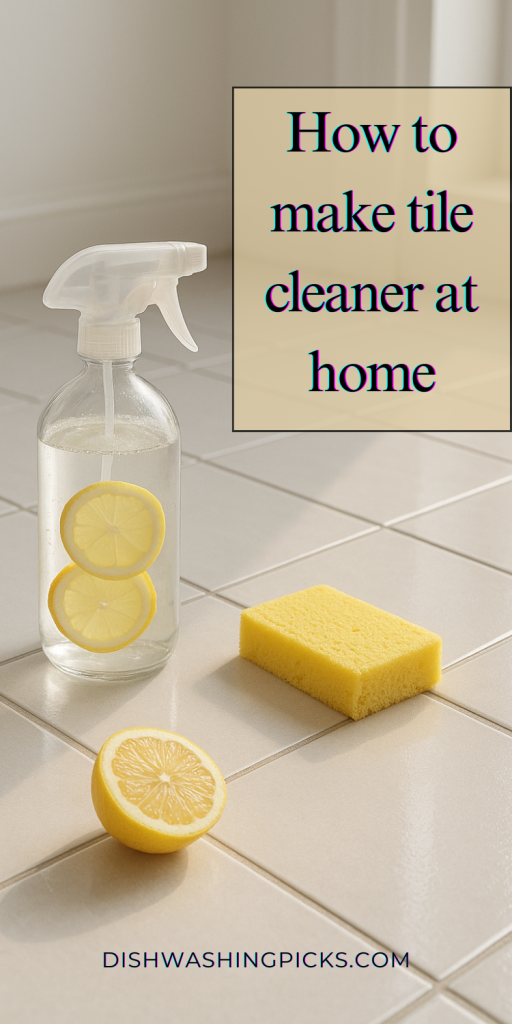
When Your Tiles Start Looking Tired
Picture this—you walk into your kitchen or bathroom, and instead of sparkling floors and shiny walls, you see… dull tiles with stubborn stains in the grout lines. Not exactly the vibe you were going for, right? It’s like your tiles are begging for a spa day.
Sure, you could head to the store and grab a fancy cleaner off the shelf. But have you ever flipped one of those bottles around and read the ingredients? Half the time, it feels like you need a chemistry degree just to understand what’s inside. And those harsh chemicals? Not great for your lungs, your wallet, or the planet.
The good news? You can whip up a tile cleaner at home with stuff you probably already have sitting in your pantry. Cheap, safe, and effective—what’s not to love?
Why Bother Making Your Own Tile Cleaner?
Let’s be honest, homemade cleaners aren’t just about saving a few bucks (though that’s a nice perk). There are real reasons to give them a shot:
- Safer for your family and pets. No more harsh fumes that make you cough the second you spray.
- Eco-friendly. Natural ingredients mean fewer chemicals going down your drains.
- Customizable. Want a lemon-fresh scent instead of that overpowering “ocean breeze” smell? Easy.
- Budget-friendly. Why pay for something you can make with vinegar, baking soda, and a squeeze of lemon?
Think of it like cooking—sometimes homemade just feels better.
The Go-To Homemade Tile Cleaner Recipe
Alright, let’s get down to business. Here’s a simple recipe that works wonders on most tiles (ceramic, porcelain, you name it).
You’ll need:
- 1 cup of white vinegar
- 1 cup of warm water
- 1–2 tablespoons of baking soda
- A few drops of dish soap
- (Optional) A few drops of essential oil—lemon, tea tree, or lavender are great
How to make it:
- Mix the vinegar and water in a spray bottle.
- Add the baking soda slowly (it might fizz a bit—that’s science working its magic).
- Stir in the dish soap and essential oil.
- Shake gently, and you’re good to go.
How to use it: Spray it directly on your tiles, let it sit for 5–10 minutes, then scrub with a sponge or brush. Rinse with warm water, and admire that shine.
Extra Tips for Stubborn Stains and Grout
Tiles are one thing—but grout? That’s where dirt really loves to hang out. Don’t worry, I’ve got you covered.
- For grout lines: Make a paste with baking soda and a little water. Apply it to the grout, then spray vinegar on top. It’ll fizz like a mini volcano. Scrub with an old toothbrush and rinse.
- For extra shine: Wipe tiles with a microfiber cloth after cleaning to avoid streaks.
- For mold or mildew: Add a teaspoon of hydrogen peroxide to your spray mix for extra disinfecting power.
Imagine your bathroom tiles after this—like they just had a professional deep clean, but you did it with a couple of pantry staples.
Lifestyle Habits to Keep Tiles Cleaner Longer
Because let’s face it—you don’t want to scrub grout every other day. A few simple habits can stretch out that fresh-tile feeling:
- Wipe up spills quickly (especially in the kitchen).
- Keep a squeegee in the bathroom to swipe down tiles after a shower.
- Do a light weekly clean instead of waiting until things get gross.
Think of it like brushing your teeth—you wouldn’t skip for weeks and then expect one session to fix everything, right? Same goes for tiles.
Sparkle Without the Chemicals
At the end of the day, making your own tile cleaner isn’t just about scrubbing floors—it’s about creating a healthier, fresher space without unnecessary chemicals or costs. With vinegar, baking soda, and a little effort, you can give your tiles new life.
So next time you catch yourself staring at those dull tiles, don’t reach for the store-bought stuff. Try your homemade cleaner instead—you might just become the “cleaning hack” guru among your friends.
