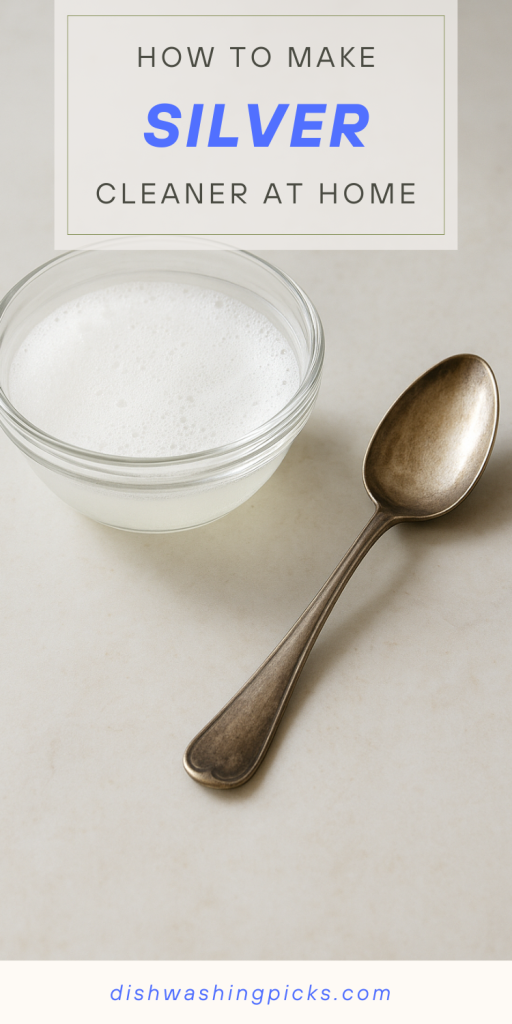
Shine On Without Spending a Fortune
Ever peeked at your jewelry box and thought, “Wow… my silver could really use some TLC”? Silver has this sneaky way of tarnishing, even when you’ve barely worn it. But before you run to the store for expensive cleaners, what if I told you that you can make silver sparkle at home using stuff you probably already have in your kitchen?
Yep, that’s right. With a few simple ingredients, you can get your silver looking brand-new again—and without those harsh chemicals. Intrigued? Let’s dive in.
Why Silver Tarnishes
You might wonder, “Why does silver go dark anyway?”
- Sulfur in the air: Silver reacts with sulfur compounds, forming silver sulfide—the culprit behind that dull, gray layer.
- Everyday exposure: Foods like eggs or onions, sweat, and even air pollution speed up tarnishing.
So, it’s not your fault your favorite bracelet looks sad—it’s science. Luckily, science also gives us easy ways to reverse it!
Ingredients You’ll Need
Here’s the fun part: most of these are probably already in your kitchen or pantry.
- Aluminum foil
- Baking soda
- Boiling water
- Salt (optional, but boosts cleaning power)
- A bowl or pan big enough to fit your silver
- Soft cloth or microfiber towel
Optional: lemon juice for a gentle shine boost, or mild dish soap if you want to pre-clean greasy pieces.
Step-by-Step: Homemade Silver Cleaner
Ready to turn your tarnished silver into shiny treasures? Here’s how:
- Line a bowl with foil. Shiny side up. This foil is going to help transfer electrons and remove the tarnish—don’t worry, it’s not magic, just chemistry.
- Add baking soda and salt. About 1–2 tablespoons of each, depending on how much silver you’re cleaning.
- Pour in boiling water. Enough to fully submerge your silver. You’ll see bubbles—this is good!
- Drop in your silver. Make sure it’s touching the foil. The reaction between the foil, baking soda, and salt removes tarnish from the silver.
- Wait and watch. Usually 5–10 minutes does the trick. For heavier tarnish, you might need 15–20 minutes.
- Rinse and dry. Use warm water and a soft cloth to buff your silver to a brilliant shine.
Pro tip: For small or delicate items, pre-soak in mild dish soap and use a soft toothbrush to gently scrub stubborn spots before the baking soda bath.
Alternative Quick Fixes
If you’re in a hurry, here are a few other ways to clean silver at home:
- Toothpaste: Plain, non-gel, non-abrasive toothpaste can be applied with a soft cloth. Rinse well afterward.
- Lemon juice & baking soda paste: Mix into a paste, rub gently, then rinse. Great for rings and smaller items.
- Vinegar soak: Half a cup white vinegar + 2 tablespoons baking soda. Soak for 2–3 hours, then rinse.
These are handy when you don’t have a big pan for the foil method.
Storytime: My Tarnished Treasure Rescue
I once inherited a silver tea set from my grandma—beautiful, delicate, but completely blackened with tarnish. I panicked at first. Then I remembered this foil + baking soda trick. Ten minutes later? Sparkling tea set, zero stress, and the best part—it cost me almost nothing. My grandma would’ve been proud.
It’s satisfying seeing something old and dull transform into shiny and new—all from the comfort of your kitchen.
DIY Silver Care Made Simple
Cleaning silver at home doesn’t have to be intimidating or expensive. With a little aluminum foil, baking soda, and hot water, you can reverse tarnish, restore shine, and even extend the life of your favorite pieces.
So next time you notice that your silver is looking a bit sad, remember: your kitchen holds the key to sparkling treasures. Give it a try, and watch science and simplicity work their magic!
