Imagine this: you’re out camping, hiking, or just dealing with life’s little scrapes at home, and—oops—a cut appears. You reach for a wound-cleaning solution… but wait, your bottle is empty. Panic? Nah. You can whip up a saline solution in no time, and it’s super easy. Seriously, it’s almost like a kitchen magic trick!
Before we jump into the “how,” let’s clear up why saline solution is the MVP for wound care.
Why Saline Solution?
You might be thinking: “Why not just use water or rubbing alcohol?” Great question. Tap water can contain bacteria, and alcohol? Well… it’s great for disinfecting, but it stings like crazy and can actually slow healing if you overuse it. Saline solution, on the other hand, is gentle, helps flush out dirt and debris, and keeps the wound moist—perfect for speeding up healing without causing extra pain.
And here’s a fun fact: your body’s cells actually love salt water. The salt concentration in a saline solution mimics your body’s natural fluids, which is why it doesn’t irritate tissues. Cool, right?
Now that you know why it’s awesome, let’s get into how to make it yourself, step by step.
Step 1: Gather Your Ingredients
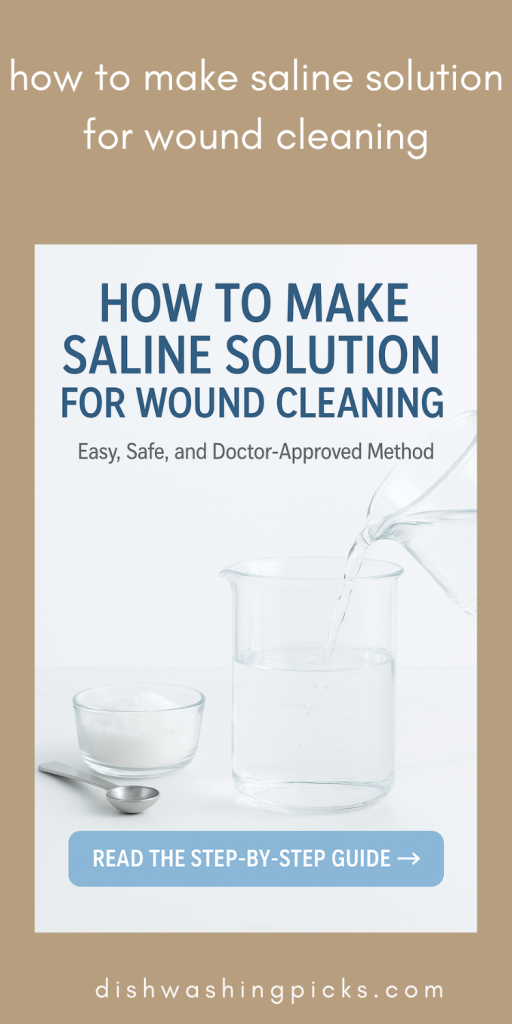
This is the part where you realize your kitchen is secretly a mini pharmacy. You’ll need just two things:
- Clean water – distilled or boiled water works best (we’ll explain why).
- Salt – plain table salt is fine, but make sure it’s non-iodized. Iodine is great in your diet, but it can irritate a wound.
Simple enough, right? No complicated formulas, no fancy equipment.
Step 2: Clean Your Equipment
Before you start mixing, remember: hygiene is key. Wash your hands and make sure your container (bowl, jar, or bottle) and spoon are squeaky clean. This prevents introducing any germs into your solution.
Step 3: Mix the Solution
Here’s the easy math: for 1 cup (240 ml) of water, add ½ teaspoon of salt. Stir until the salt fully dissolves.
Want a tip? Boiling your water first not only makes it safe from bacteria but also helps the salt dissolve faster. Let it cool to room temperature before using it on your wound—because hot saline on a cut? Ouch!
Step 4: Store and Use Your Saline Solution Safely
So, you’ve got this fresh, homemade saline solution. Awesome. But wait—how do you keep it from going bad? Here’s the lowdown:
- Storage: Keep your solution in a clean, airtight container. A small glass jar or a properly washed plastic bottle works. Store it in a cool, dry place. Ideally, use it within 24 hours to avoid bacterial growth. Yep, it’s basically a “fresh batch every day” kind of deal.
- Application: Wash your hands first (yes, again). Then, pour the saline gently over the wound or soak a clean gauze pad and dab it lightly. The idea is to rinse away dirt and debris without scrubbing, because scrubbing can irritate tissue and slow healing.
- Frequency: For minor cuts and scrapes, rinsing once or twice a day is usually enough. If you notice any redness, swelling, or unusual discharge, that’s your cue to see a healthcare professional.
Handy Tips and Tricks
Let’s make your life even easier:
- Use a funnel or syringe if you want a more precise, controlled rinse—especially handy for deeper cuts or wounds on fingers.
- Keep a small travel bottle in your first-aid kit for camping, hiking, or even just life’s “oops” moments at home.
- Don’t add fancy stuff like hydrogen peroxide or iodine to this homemade solution—they can burn and delay healing. Saline’s gentle nature is its superpower.
Common Mistakes to Avoid
- Using tap water without boiling
Yes, it might be tempting to grab some tap water and go, but that’s a recipe for germs. Always boil first or use distilled water. Remember, germs love damp, warm environments—your wound definitely doesn’t need extra guests. - Over-salting the solution
Too much salt can sting like crazy and actually damage tissues. Stick to the ½ teaspoon per cup (240 ml) ratio. Precision matters, but don’t stress—you’re not baking a soufflé. - Using dirty containers or utensils
You wouldn’t eat from a dirty plate, right? Same logic here. Clean everything thoroughly, because bacteria love hitching a ride into your wound. - Reusing old solution
Homemade saline isn’t meant to last for weeks. Using old solution can introduce bacteria. Treat it like fresh juice—make a new batch daily.
Pro Tips for Maximum Effectiveness
- Cool before use: Let your boiled water cool to room temperature. Hot saline is a recipe for “ouch!” moments.
- Sterile delivery: If you have a small syringe or a spray bottle, it’s perfect for controlled rinsing without touching the wound.
- Keep extras on hand: Store a small batch in your first-aid kit for emergencies. Life is unpredictable; your saline solution should be ready to roll.
- Combine with good wound care: After rinsing, gently pat the wound dry with sterile gauze and cover it with a clean bandage. Saline alone is amazing, but a proper dressing speeds up healing.
Wrapping It Up
So, there you have it! Making your own saline solution is easier than you might have thought, and it’s a safe, effective way to take care of minor wounds at home. A little salt, some clean water, and a clean container are all you need.
Next time life throws a paper cut, kitchen mishap, or hiking scrape your way, you’ll be ready—no pharmacy run required. Imagine the peace of mind!

