Getting a new piercing is exciting—whether it’s your earlobe, nose, or belly button—but keeping it clean can feel a little daunting. Nobody wants redness, irritation, or worse, an infection ruining the fun. So how do you care for your piercing without constantly buying expensive solutions?
The good news? You can make a safe, effective piercing cleaning solution at home using simple ingredients like distilled water, non-iodized sea salt, and even chamomile tea. It’s easy, inexpensive, and gentle on your skin.
In this guide, we’ll walk you through DIY recipes, tips for different piercing types, and common mistakes to avoid. By the end, your piercing will stay healthy, clean, and irritation-free, and you might even enjoy the process. Imagine this: your new piercing looking perfect, healing smoothly, and sparkling in all the right ways—without stress or extra spending.
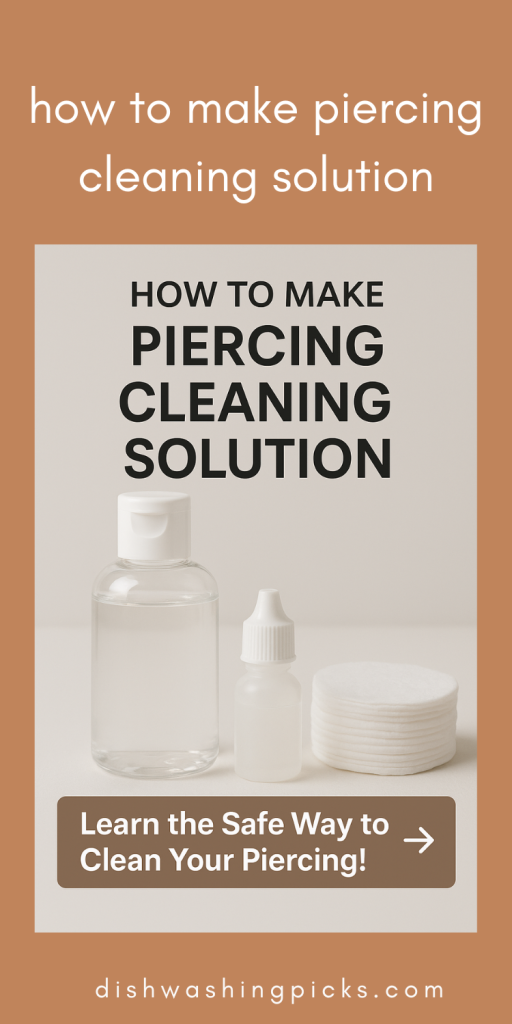
How to Make Piercing Cleaning Solution at Home?
Getting a new piercing is exciting—but keeping it clean? That’s a whole other story. Nothing kills the excitement faster than redness, irritation, or the fear of infection. So how do you care for your new piercing without constantly spending on fancy solutions at the store?
Here’s the good news: you can make a safe, effective piercing cleaning solution at home using simple ingredients like saline, sea salt, and distilled water. Easy, inexpensive, and gentle on your skin.
In this guide, we’ll cover step-by-step DIY methods, tips for different types of piercings, and common mistakes to avoid. By the end, you’ll know exactly how to keep your piercing clean, reduce the risk of infection, and maybe even enjoy the process. Imagine this: your new earring or nose ring sparkling, healthy, and irritation-free—without the stress.
1. The Classic Saline Solution
Let’s start with the tried-and-true method: saline solution. It’s gentle, safe, and perfect for all kinds of piercings.
Here’s how to make it:
- Boil 1 cup of distilled water and let it cool to warm temperature.
- Add ½ teaspoon of non-iodized sea salt. Stir until dissolved.
- Store in a clean container or small bottle.
To use: soak a clean cotton pad or gauze in the solution and gently apply it to your piercing for 3–5 minutes, twice a day.
Think of it like a mini spa for your piercing—soothing, cleansing, and stress-free.
Pro Tip: Always use distilled water. Tap water can contain bacteria that irritate piercings.
2. Sea Salt Soaks for Extra Care
For stubborn irritation or crust buildup, a slightly stronger soak can help:
- Mix 1 teaspoon of sea salt with 1 cup of warm distilled water.
- Soak your piercing for 5–10 minutes once a day.
This helps dissolve any dried discharge and keeps the area clean without harsh chemicals.
Try thinking of it this way: it’s like giving your piercing a gentle bath—enough to clean, not enough to sting or dry out your skin.
3. Tailoring Cleaning for Different Piercings
Not all piercings are created equal—what works for a lobe might irritate a nose or belly button piercing. Here’s a quick guide:
- Earlobes & Cartilage: Gentle saline soaks twice a day are usually enough. For cartilage, avoid excessive twisting—less is more.
- Nose Piercings: Use a cotton swab soaked in saline to clean inside the nostril carefully. Avoid harsh scrubbing—it can irritate sensitive skin.
- Belly Buttons & Other Piercings: These can accumulate lint or sweat. Soak a gauze pad in saline and gently press it around the area, letting it sit for a few minutes.
Imagine this: you’re giving your piercing a tiny self-care moment every day—soothing, cleansing, and keeping it healthy without any pain.
4. Extra DIY Hacks for Faster Healing
Want to speed up the healing process and reduce irritation? Here are some simple hacks:
- Warm compress: After a soak, a warm compress can increase blood flow and reduce swelling.
- Chamomile tea rinse: Brew chamomile tea, let it cool, and use a soaked cotton pad for gentle anti-inflammatory care.
- Avoid twisting or turning jewelry: As tempting as it is, moving jewelry can delay healing and introduce bacteria.
Think of these hacks as little boosts—like giving your piercing VIP treatment.
5. Common Piercing Cleaning Mistakes to Avoid
Even the best DIY solutions can fail if you fall into these traps:
- Using harsh chemicals: Alcohol, hydrogen peroxide, or ointments can irritate or dry out piercings.
- Over-cleaning: Twice a day is plenty—more can slow healing.
- Touching with dirty hands: Always wash hands before touching jewelry.
- Neglecting jewelry hygiene: Remove debris and clean jewelry before reinserting it.
Avoid these mistakes, and your piercing will stay healthy, clean, and irritation-free.
Conclusion
Getting a new piercing is exciting, but keeping it clean is essential for healing quickly and avoiding infection. The great news? You don’t need expensive solutions or harsh chemicals. With simple ingredients like distilled water, non-iodized sea salt, and even chamomile tea, you can make safe, effective DIY piercing cleaners at home.
The key is gentle care, consistency, and knowing the right method for your piercing type. Soak, cleanse, and let your piercing rest—overdoing it can actually slow healing. Add a little mindfulness to the routine, and your piercing can stay healthy while you enjoy the process.
Imagine this: your new nose ring, belly button, or earlobe piercing sparkling, irritation-free, and healthy, all thanks to your homemade solution. It’s satisfying, safe, and super easy.