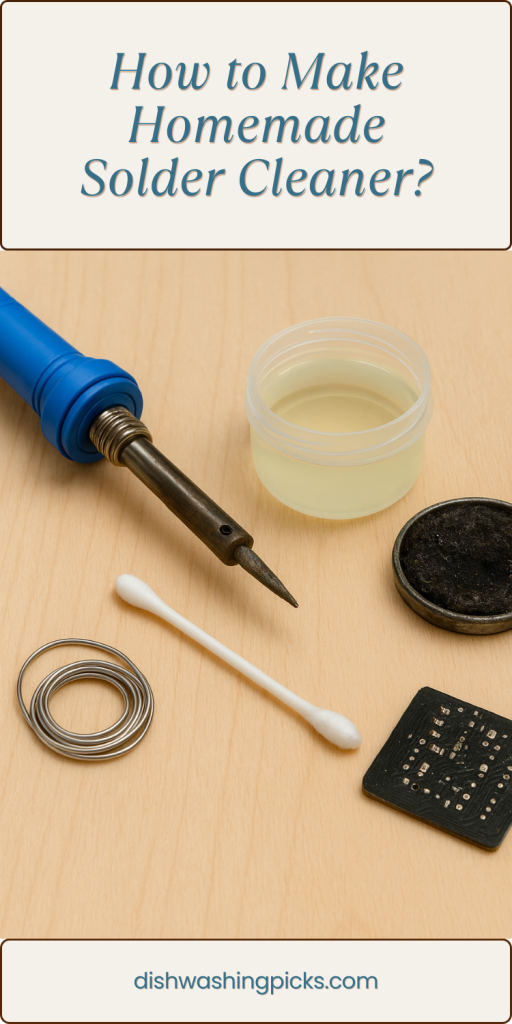
Okay, let’s be honest—if you’ve ever messed around with soldering, you know it’s not all sparks and shiny joints. Things get messy. The tip of your soldering iron starts looking like it’s been through a war zone, your connections end up a little gunky, and suddenly you’re wondering if maybe you’re just bad at this whole electronics thing. Spoiler: you’re not. You just need a good solder cleaner.
And here’s the fun part—you don’t have to run out and buy some fancy flux or specialized cleaner every time. You can actually whip up a homemade version that works surprisingly well. Yep, DIY solder cleaner. Cheap, effective, and kind of satisfying to put together.
Why Bother Making Your Own?
Good question. Why not just grab one off Amazon, right? Well, for starters, store-bought cleaners can be pricey for what they are. And half the time, they’re just variations of stuff you already have lying around at home. Making your own means you save money, plus you know exactly what’s going into it.
And honestly? It’s a nice little hack to keep up your sleeve. Imagine impressing your tinkering buddy by casually saying, “Oh yeah, I just made this cleaner myself.” Instant street cred in the DIY crowd.
What You’ll Need
Alright, let’s break down the ingredients. Nothing too crazy here:
- Isopropyl alcohol (at least 70%) – This is the main cleaner.
- Distilled water – Keeps things diluted and safe.
- A few drops of mild dish soap – Cuts through grease and grime.
- A small container with a lid – Because spilling this on your workbench would be… not ideal.
- Cotton swabs or an old toothbrush – For scrubbing those stubborn spots.
Optional: if you’ve got flux residue that’s really baked on, a sprinkle of baking soda in the mix can give it a little extra scrubbing power.
How to Mix It Up
Here’s the simple recipe:
- In your container, mix 2 parts isopropyl alcohol with 1 part distilled water.
- Add 2–3 drops of dish soap. Stir gently (don’t shake it like a cocktail—you don’t want bubbles).
- (Optional) Toss in a pinch of baking soda if you want more grit.
Boom. That’s it. You’ve got yourself a homemade solder cleaner.
How to Use It Without Overcomplicating Things
Dip a cotton swab or toothbrush into the solution and gently scrub the solder joints or the tip of your iron. Don’t go wild—gentle pressure is usually enough to loosen up the grime. Wipe it off with a clean cloth afterward, and you’re good to go.
Pro tip: Always clean your soldering iron tip while it’s still warm (not hot, just warm). That way, the residue comes off easier, and you don’t risk damaging the metal.
Safety Check (Because We Gotta Say It)
Yes, it’s just alcohol, soap, and water, but still—don’t drink it, don’t splash it in your eyes, and keep it away from open flames. Pretty basic stuff, but worth saying.
Wrapping It Up
Making your own solder cleaner at home isn’t just practical—it’s one of those little hacks that makes the whole DIY electronics process smoother and way less frustrating. You’ll spend less time wrestling with dirty tips and more time actually building cool stuff.
So next time your soldering iron looks like it’s been through a barbecue, skip the store trip. Mix up this quick cleaner, wipe it down, and get back to making those connections shine. Who knew soldering could feel this satisfying once your tools are actually clean?
