Introduction
Okay, let’s be real for a second: who hasn’t had that one shirt, jacket, or dress that says “dry clean only” and immediately thought, ugh, that’s going to cost me? Taking clothes to the dry cleaner every time can add up—fast. Not to mention the hassle of dropping them off, waiting, and picking them up. Wouldn’t it be way easier if you could just… handle it at home?
Well, guess what—you can. Yep, you can whip up your own DIY dry cleaning solution right in your kitchen with a few household items. And no, it’s not some complicated chemistry experiment. Think more along the lines of a quick mix that saves you money, time, and maybe even your favorite outfit.
So, if you’ve ever spilled coffee on a blazer or noticed your “special fabric” dress looking a little dull, hang tight. I’m about to walk you through how to make your very own dry cleaning solution—without the drama.
Why Bother Making It Yourself?
Alright, let’s address the obvious: why not just stick with professional dry cleaning? Sure, it’s convenient, but here’s the thing—sometimes it’s not necessary. Most of the time, your clothes don’t need a full-on chemical bath. They just need a little refreshing, a light clean, or a quick spot treatment.
Here are a couple of reasons DIY makes sense:
- Money saver: A trip to the dry cleaners can run you anywhere from $8 to $20 per item. Imagine cutting that cost down to pennies.
- Gentle on clothes: Your homemade version will be softer, less harsh, and still get the job done.
- Convenience: Late-night spill before work tomorrow? You’re not running to the dry cleaner at 10 p.m.—but you can grab your DIY mix.
See what I mean? It’s one of those “why didn’t I do this sooner?” hacks.
What You’ll Need (and Why It Works)
Here’s the fun part—it’s ridiculously simple. Chances are, you already have most of these ingredients hanging out in your cabinets.
- Rubbing alcohol (isopropyl alcohol): This acts as a disinfectant and helps lift oils or grime from fabrics.
- Water: Dilutes the alcohol so it’s not too harsh.
- White vinegar: Neutralizes odors and breaks down residue.
- Essential oils (optional): For that fresh, clean smell (lavender or lemon works wonders).
That’s it. Four ingredients, tops. No fancy stuff, no breaking the bank.
How to Mix It Up
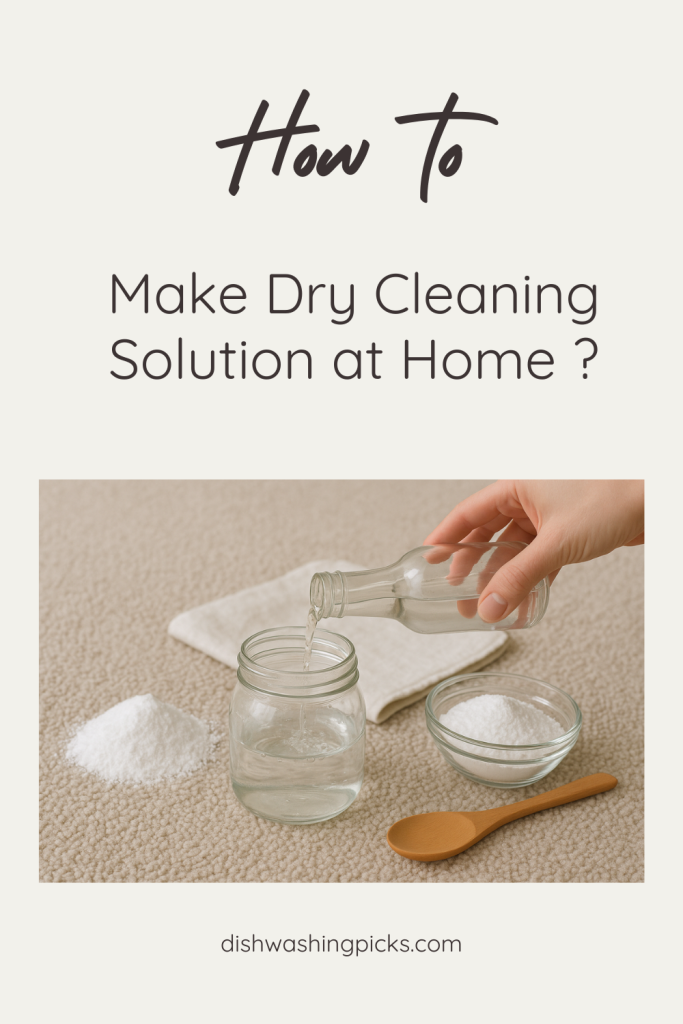
Okay, let’s get to the good stuff—making your solution. Here’s the quick recipe:
- Grab a spray bottle. (Trust me, it makes your life easier.)
- Pour in 1 cup of water.
- Add 1 cup of rubbing alcohol.
- Stir in 1 tablespoon of white vinegar.
- If you like, toss in 4–5 drops of essential oil for scent.
Give it a little shake, and boom—you’ve got your very own dry cleaning solution.
How to Use It (Without Wrecking Your Clothes)
Here’s where people usually freak out: “Wait, you want me to spray this on my nice jacket?” Yep, but don’t worry—it’s safer than it sounds. The trick is in the technique.
- Spot clean: Spray lightly on stains, dab gently with a clean cloth, and let it air dry.
- Refresh: Lightly mist the inside and outside of your clothing to freshen it up. Hang it somewhere with good air circulation.
- Deodorize: Got that musty smell from clothes sitting too long in the closet? A light mist will fix it.
Important note: always do a quick patch test on an unseen area first. Fabrics like silk or delicate wool might need extra caution.
Extra Tips for Success
- Don’t soak your clothes—light misting is key.
- Use microfiber cloths for blotting instead of paper towels (less lint, better results).
- Store your solution in a cool, dark place so it stays fresh.
Wrapping It Up
So, there you go—a simple, cheap, and surprisingly effective way to make your own dry cleaning solution at home. You’ve just saved yourself a trip (and probably $15).
Next time you see “dry clean only,” don’t panic. Just remember your little DIY hack and handle it yourself. Imagine how smug you’ll feel walking past the dry cleaners knowing you’ve got your own secret formula sitting under the sink.
