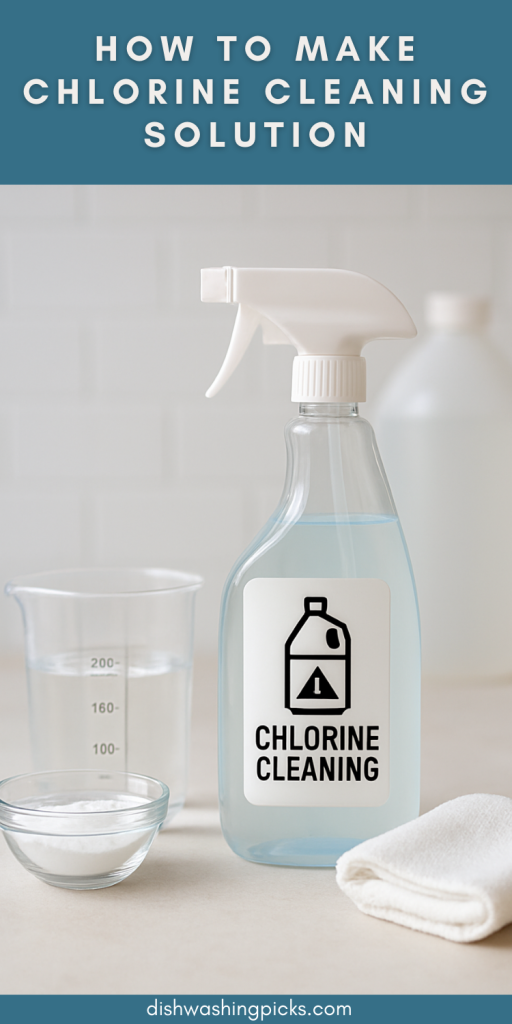
Why Make Your Own Chlorine Cleaning Solution?
Think about this: you walk into the store, head straight for the cleaning aisle, and—bam—you’re staring at a wall of bottles. Bleach sprays, disinfectants, fancy branded cleaners… and all of them cost way more than they probably should.
Now, what if I told you the same powerful cleaning solution is already in your laundry room (yep, plain bleach), and with the right mix, you can make a disinfectant cleaner that works just as well—if not better—than the store-bought stuff? Spoiler: it’s cheaper, it’s customizable, and once you know how, it’s ridiculously easy.
The Basics: What You Need to Know First
Before we jump into the “recipe,” let’s clear up a couple of things:
- Chlorine cleaner = diluted bleach. No magic, no secret. It’s just taking household bleach (usually 5–6% sodium hypochlorite) and mixing it safely with water.
- Stronger ≠ better. Too much bleach can damage surfaces and irritate your skin or lungs. The key is balance.
- Never mix bleach with other cleaners. Especially not vinegar or ammonia—it creates dangerous gases. (Trust me, this is not the kind of chemistry experiment you want happening in your bathroom.)
Ingredients and Tools
Here’s all you’ll need to whip up your DIY chlorine cleaning solution:
- Household bleach (unscented, plain, 5–6% sodium hypochlorite)
- Cool water
- Measuring cup or spoon
- A clean bucket or spray bottle
- Gloves (optional, but highly recommended)
Quick tip: Stick with unscented bleach. The “lemon fresh” kind sounds nice, but for cleaning purposes, plain works best.
The Recipe: Mixing It Up
Ready to play chemist (safely)? Here’s the standard ratio recommended by health organizations like the CDC and WHO:
For disinfecting hard surfaces:
- 1 tablespoon (15 ml) of bleach
- 1 quart (1 liter) of water
For larger batches:
- 4 teaspoons (20 ml) of bleach
- 1 quart (1 liter) of water
OR - 1 cup (240 ml) of bleach
- 1 gallon (3.8 liters) of water
Mix it gently (no need to shake like a cocktail), and you’ve got a powerful disinfectant solution.
How to Use It: Practical Applications
Now that you’ve got your DIY chlorine cleaner, here’s where it really shines:
- Kitchen counters: Spray and let it sit for 5 minutes before wiping.
- Bathroom tiles & sinks: Kills mold, mildew, and bacteria.
- Floors: Mop with it to disinfect high-traffic areas.
- Laundry: Add a little to whites for brightening and disinfecting.
- Outdoor use: Great for cleaning trash bins, patio furniture, or even disinfecting garden tools.
Pro move: Make small batches. Chlorine solutions lose strength after about 24 hours, so don’t stockpile like you’re prepping for an apocalypse.
Real-Life Scenario: The Post-Cookout Cleanup
Imagine this: you’ve just hosted a backyard BBQ. Burgers, hot dogs, potato salad—the works. Everyone’s happy… until you’re left staring at the greasy grill tools and sticky patio table. Instead of scrubbing forever with dish soap, you mix up your chlorine solution, spray, wait a few minutes, and wipe. Just like that, everything looks (and smells) fresh again.
Simple, Safe, and Effective
Making your own chlorine cleaning solution isn’t rocket science—it’s just smart. A splash of bleach, a lot of water, and you’ve got a reliable disinfectant that costs pennies per batch.
So, the next time you’re tempted to grab a pricey bottle off the shelf, remember: you’ve got the power to mix up your own. It’s effective, budget-friendly, and puts you in control of your cleaning game.
