Why Bother Making Your Own Car Seat Cleaner?
Think about this: when was the last time you gave your car seats a proper clean? Not just a quick swipe with a napkin after a spill, but a real clean. Car seats are like silent witnesses to our lives—road trip snacks, coffee on the go, sweaty gym clothes—you name it, your seats have seen it.
Here’s the kicker: professional detailing costs a small fortune, and those store-bought cleaners? Half the time, they’re loaded with harsh chemicals and leave behind that weird artificial smell. So why not whip up your own cleaner that’s safe, affordable, and actually works?
Imagine this—next time a friend hops into your car and says, “Wow, your seats look brand new!”—you’ll smile knowing you made the cleaner yourself.
The Basics: What You’ll Need
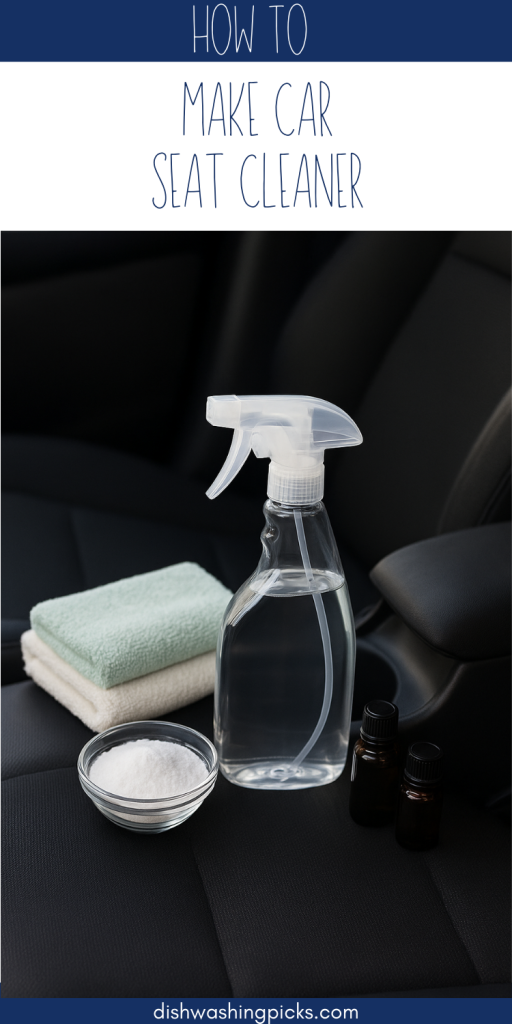
Before you think you need a chemistry set, relax. You probably already have most of these ingredients at home. Here’s a simple lineup:
- Warm water – the base for your solution.
- White vinegar – natural deodorizer and mild cleaner.
- Dish soap or mild liquid detergent – cuts through grease and stains.
- Baking soda (optional) – perfect for tackling tough odors.
- Spray bottle – makes application easy and mess-free.
- Microfiber cloths or a soft brush – gentle on fabric or leather.
See? Nothing fancy, nothing expensive. Just everyday items doing double duty.
Step-by-Step: Mixing the Magic
Alright, let’s roll up our sleeves. Making your car seat cleaner is as simple as following a recipe:
- For fabric seats:
- Mix 1 cup of warm water with ½ cup white vinegar and a small squirt of dish soap.
- Pour into a spray bottle, give it a little shake, and you’re ready to go.
- Mix 1 cup of warm water with ½ cup white vinegar and a small squirt of dish soap.
- For leather seats:
- Skip the vinegar (too harsh for leather). Instead, mix 1 cup of warm water with a few drops of mild dish soap.
- Want bonus points? Add a couple of drops of olive oil for shine.
- Skip the vinegar (too harsh for leather). Instead, mix 1 cup of warm water with a few drops of mild dish soap.
- For odors:
- Sprinkle a light layer of baking soda directly on the seat, let it sit for 15 minutes, then vacuum before spraying your cleaner.
- Sprinkle a light layer of baking soda directly on the seat, let it sit for 15 minutes, then vacuum before spraying your cleaner.
That’s it—no complicated steps, no special equipment.
How to Use It (Without Overdoing It)
Here’s the golden rule: less is more. Over-saturating car seats can leave behind moisture that leads to funky smells or, worse, mold.
- Spray lightly on the stained area.
- Use a microfiber cloth to blot and gently scrub.
- For tougher spots, a soft brush works wonders.
- Wipe clean with a damp cloth and let the seat air dry.
Tip: crack open your car windows or park in the sun for faster drying.
Real-Life Example: Coffee Spill Rescue
Picture this: it’s Monday morning, you’re running late, and that travel mug of coffee tips right onto the passenger seat. Normally, panic sets in. But with your DIY cleaner on hand, you just spray, blot, scrub, and boom—no trace left. Crisis averted, week saved.
It’s these little moments that make having your own cleaner worth it.
A Cleaner Ride, the DIY Way
Making your own car seat cleaner isn’t just about saving money (though it does). It’s about having control over what you’re using in your car—safe, effective, and free of harsh chemicals. Plus, there’s a certain satisfaction in knowing you’ve got a solution ready whenever life’s little messes happen.
So, next time you think your seats need a refresh, skip the overpriced bottles at the store. Mix up your own cleaner, put on some music, and give your car that fresh, cared-for feel it deserves.