Why Bother With DIY?
Let’s face it—nothing ruins a good drive like trying to peer through streaky glass. Add fingerprints, dust, or that mysterious haze that just appears out of nowhere, and suddenly your car feels less “cool ride” and more “cloudy fishbowl.”
Sure, you can grab a bottle of commercial cleaner, but have you ever flipped it around and read the ingredients? Half of them sound like they belong in a chemistry lab, not on your dashboard. Plus, those bottles add up in cost over time.
That’s where the DIY route comes in: safer for your wallet, safer for your car, and honestly, safer for your peace of mind.
The Basics: What Makes Glass Cleaner Actually Work?
Think about it—why do regular cleaners struggle sometimes? Here’s the secret:
- Ammonia (in many store brands): Cuts grease well, but can be harsh and leave fumes.
- Vinegar: Cuts through grime naturally without leaving harmful residues.
- Alcohol: Helps things dry faster so you don’t get streaks.
DIY glass cleaner works because it combines ingredients that handle dirt and leave a streak-free finish. And no, your car won’t smell like a pickle jar if you mix it right.
Ingredients: What You’ll Need
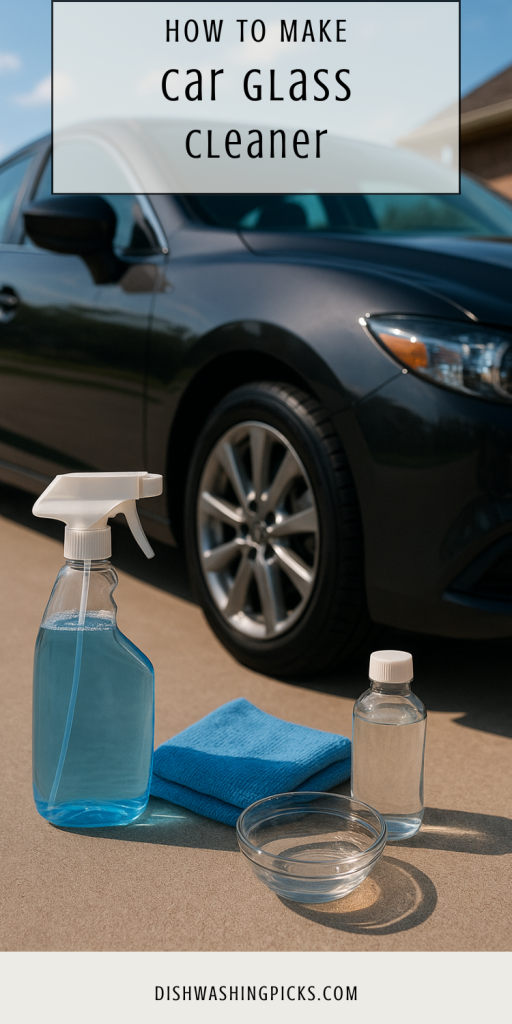
Here’s your simple “toolkit” for crystal-clear glass:
- 1 cup distilled water (no tap water—minerals = streaks)
- 1 cup rubbing alcohol (70% or higher works best)
- 1 tablespoon white vinegar (the grime-buster)
- Optional: a few drops of essential oil (lemon or lavender to mask the vinegar smell)
- A spray bottle (preferably a new one, so no cross-contamination from old cleaning products)
Pro tip: Distilled water really matters. Tap water leaves behind those dreaded spots when it dries.
Step-by-Step: Mixing Your DIY Cleaner
Here’s where the magic happens:
- Grab your spray bottle.
- Pour in 1 cup of distilled water.
- Add 1 cup of rubbing alcohol.
- Stir in 1 tablespoon of vinegar.
- Drop in your essential oil if you’d like a fresher scent.
- Shake it up gently—and you’re done.
Simple, right? You’ve just made a pro-level cleaner in under two minutes.
How to Use It (Without Streaks!)
Okay, so you’ve got your magic potion. Now, how do you make sure you don’t end up with more streaks than you started with?
- Spray lightly—less is more.
- Use a microfiber cloth (ditch the paper towels, they shed fibers).
- Wipe in vertical strokes, then finish with horizontal strokes. (That way, if you do see streaks, you’ll know which side of the glass they’re on.)
- Don’t forget the inside of your windshield—half the haze actually builds up there from car interior gases and dust.
Imagine this: you’re sitting at a red light, sun pouring in, and your glass is so clean it almost feels like there’s no barrier at all. That’s the feeling you’re going for.
Storage and Shelf Life
Good news—you don’t need to make this every single time.
- Store your bottle in a cool, dry place (trunk or glove compartment works fine).
- It’ll last for months, but if you added essential oils, give it a little shake before each use.
- If it starts smelling weird or looking cloudy, just whip up a fresh batch.
A Clear Win
At the end of the day, making your own car glass cleaner is one of those small hacks that pays off big. It’s cheap, effective, eco-friendly, and way more satisfying than grabbing another store-bought bottle.
So next time your windows start looking more frosted than fresh, skip the trip to the auto shop aisle. Grab your DIY mix, spray, wipe, and enjoy the world in high-definition clarity—without the price tag.