So, You Got a New Piercing?
You’ve just walked out of the shop with a shiny new piercing—maybe it’s your ear, your nose, or something a little more adventurous. Exciting, right? But here comes the less glamorous part: aftercare.
Keeping your piercing clean is the difference between a smooth healing process and a painful infection. Sure, you can buy fancy sprays at the piercing studio or drugstore, but here’s the kicker: you can also make a safe, effective cleaner right at home with just a couple of ingredients.
Sounds good? Let’s break it down.
What’s the Safest Way to Clean a Piercing?
Here’s the thing—your body doesn’t actually want extra holes in it. So while your new piercing is healing, it’s essentially an open wound. That means germs are the enemy.
The gold standard recommended by piercers worldwide is a saline solution (a fancy way of saying saltwater). It’s gentle, it keeps bacteria in check, and it doesn’t irritate your skin the way alcohol or hydrogen peroxide can. (Pro tip: avoid those harsh cleaners—they can actually slow down healing by drying the tissue too much.)
So, we’re not talking rocket science here—just salt, water, and the right balance.
Ingredients You’ll Need
Grab your mental shopping list:
- Non-iodized sea salt (kosher salt works too). Regular table salt often has iodine or anti-caking agents, which can be irritating.
- Warm distilled water (or boiled and cooled tap water if you don’t have distilled).
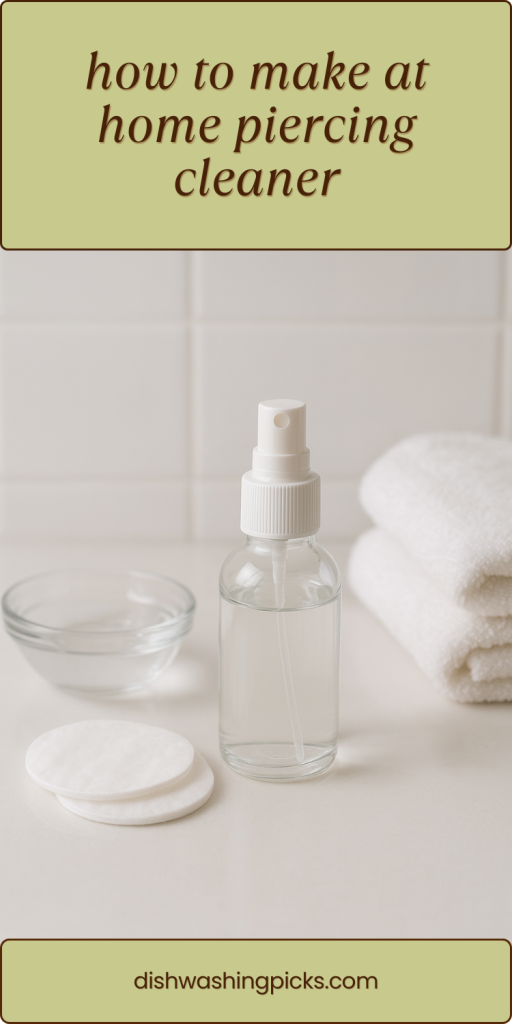
- A clean container or spray bottle to mix and store your solution.
Optional but nice to have:
- Sterile cotton balls, gauze pads, or a small squeeze bottle to apply the solution.
How to Make the Piercing Cleaner (The Easy Recipe)
Here’s your step-by-step:
- Measure carefully. Add ¼ teaspoon of non-iodized salt to 1 cup (about 240 ml) of warm distilled water.
- Mix until dissolved. Stir until you don’t see any salt grains at the bottom.
- Store safely. Pour into a clean glass jar or spray bottle. If you want it super fresh, make small batches daily.
And that’s it—you’ve just made professional-grade saline solution at home.
How to Use It the Right Way
Okay, so now you’ve got your cleaner. Here’s how to actually use it without overdoing it:
- Soak or spray: Dip a cotton ball/gauze pad into the solution and press gently against the piercing, or spray it directly on the area.
- Rinse, don’t scrub: Resist the urge to twist, turn, or scrub your jewelry—that just irritates the healing tissue.
- Frequency: Clean 2–3 times a day, no more. (Over-cleaning can be just as bad as under-cleaning.)
Imagine it like watering a plant—too little and it dries out, too much and it drowns. Your piercing needs balance.
Extra Tips for Happy, Healthy Piercings
- Always wash your hands first before touching the piercing.
- Change pillowcases often (especially for ear piercings).
- Avoid swimming pools, hot tubs, and lakes until fully healed.
- Don’t pick at scabs or discharge—it’s part of the natural healing process.
- If something feels really off (like swelling, pus, or extreme pain), check in with a professional piercer or doctor.
Clean Piercing, Happy Healing
At the end of the day, making your own at-home piercing cleaner is quick, cheap, and effective. With just salt and water, you’ve got a solution that supports healing without all the unnecessary extras.
So next time you look at your new piercing in the mirror, remember: keeping it clean doesn’t have to be complicated—it just has to be consistent. A little care now means you’ll be rocking that jewelry worry-free in no time.
