Why Bother Making Your Own?
Be honest—how many times have you wiped your phone screen on your shirt and called it “clean”? Or maybe you’ve grabbed that remote, noticed how grimy it looks, and thought, “I really should do something about this.”
Here’s the good news: you don’t need to run to the store or spend a fortune on fancy cleaning products. With a simple DIY alcohol cleaning spray, you can whip up a powerful, multipurpose cleaner in just a couple of minutes. It’s cheap, effective, and—you guessed it—you’ll know exactly what’s in it.
Imagine this: instead of mystery chemicals and long ingredient lists, you’ve got a straightforward mix that you made yourself. Pretty satisfying, right?
What You’ll Need (Your Mini Shopping List)
Don’t worry, you won’t need a science lab. Just a few basic ingredients and tools you probably already have at home:
- Isopropyl alcohol (rubbing alcohol). Aim for 70% concentration. Funny enough, that’s more effective for disinfecting than 90% or higher, because it stays on surfaces longer.
- Distilled water. Keeps things streak-free and prevents mineral deposits.
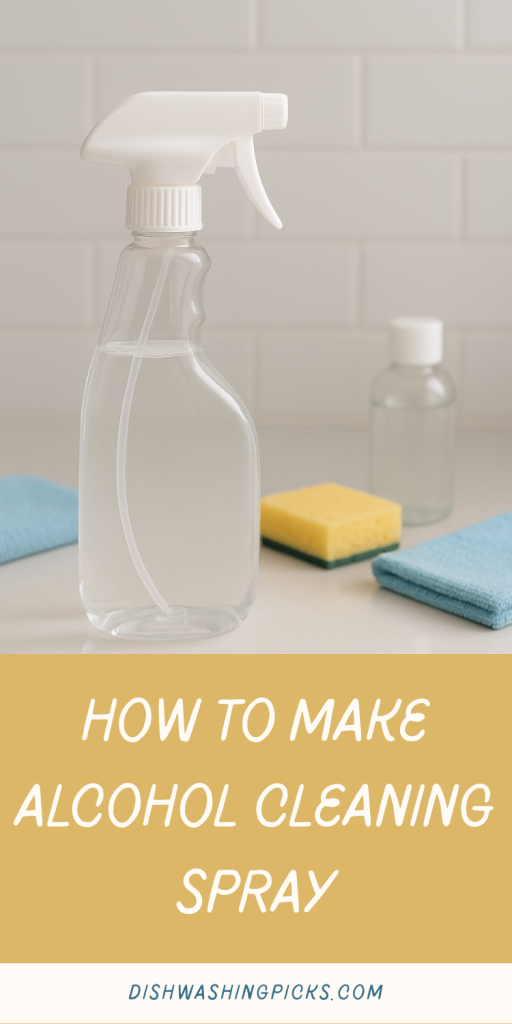
- A spray bottle. Preferably one with a fine mist setting.
- Optional extras: a few drops of essential oil (like lavender, tea tree, or lemon) if you’d like to mask the classic “hospital smell.”
See? Simple. You could probably gather all of that in less than five minutes.
How to Mix It (The Easy Recipe)
Here’s where the magic happens. Making alcohol cleaning spray is really just about balance—you want enough alcohol to disinfect, but enough water to keep it from evaporating instantly.
- Pour in the alcohol. Fill about two-thirds of your spray bottle with isopropyl alcohol.
- Add the water. Top it off with distilled water (about one-third).
- Shake gently. Nothing too dramatic—you’re not mixing a cocktail. Just a quick swirl to combine.
- Optional step: Add 5–10 drops of essential oil for a pleasant scent.
And boom—you’ve got yourself a homemade alcohol cleaning spray. Told you it was easy.
Where to Use It (and Where Not To)
This is usually the part where people ask: “Okay, but what can I actually use it on?” The answer: lots of things—but not everything.
Perfect for:
- Phones, tablets, and keyboards (spray on a cloth first, not directly)
- Glass and mirrors
- Countertops and sinks
- Stainless steel appliances
- Door handles and light switches
Skip it on:
- Unsealed wood (it can dry it out or leave marks)
- Painted or varnished surfaces (it may strip the finish)
- Delicate fabrics or leather
Think of it this way: if it’s smooth, hard, and often touched, this spray is your new best friend.
Pro Tips to Get the Most Out of It
Here are a few quick tricks to make your DIY spray even better:
- Label the bottle. Future you will forget what’s inside, guaranteed.
- Use microfiber cloths. They clean better and don’t leave streaks or lint.
- Don’t overspray electronics. Spray on a cloth, then wipe—it’s safer.
- Make small batches. Alcohol can evaporate over time, so fresh is always best.
Little tweaks like these make the difference between “eh, it kind of works” and “wow, this is my new go-to cleaner.”
Wrapping It Up
So there you have it: a quick, easy, and super effective alcohol cleaning spray you can make at home. It costs next to nothing, takes less than five minutes, and works on pretty much all the high-touch spots in your home.
Try thinking of it like this: instead of buying another overpriced spray with a fancy label, you’ve just made your own. That’s money saved, germs defeated, and one more reason to feel like a DIY pro.