Why Make Your Own?
You know that moment when you’re wiping your phone screen with the corner of your shirt, hoping it magically looks clean? Or when you grab the remote and realize, “Wow, this thing probably has more germs than my kitchen sink”? Yeah—we’ve all been there.
Enter: alcohol cleaning solution. It’s one of those underrated, do-it-all heroes that can make your life easier. And here’s the kicker—you don’t have to keep buying those pricey store bottles. You can actually whip up your own at home in just a few minutes.
Think of it like cooking a quick meal: a handful of ingredients, a little mixing, and suddenly you’ve got something that works better (and costs less) than the prepackaged stuff. Sounds good, right? Let’s break it down.
What You’ll Need (Spoiler: Not Much)
Okay, here’s where most people overthink things. But honestly? You only need a few simple items:
- Isopropyl alcohol (rubbing alcohol). Ideally, 70% concentration. Why not 100%? Because a bit of water actually helps the alcohol stick around long enough to kill germs instead of just evaporating instantly.
- Distilled water. Tap water works in a pinch, but distilled avoids streaks and mineral spots.
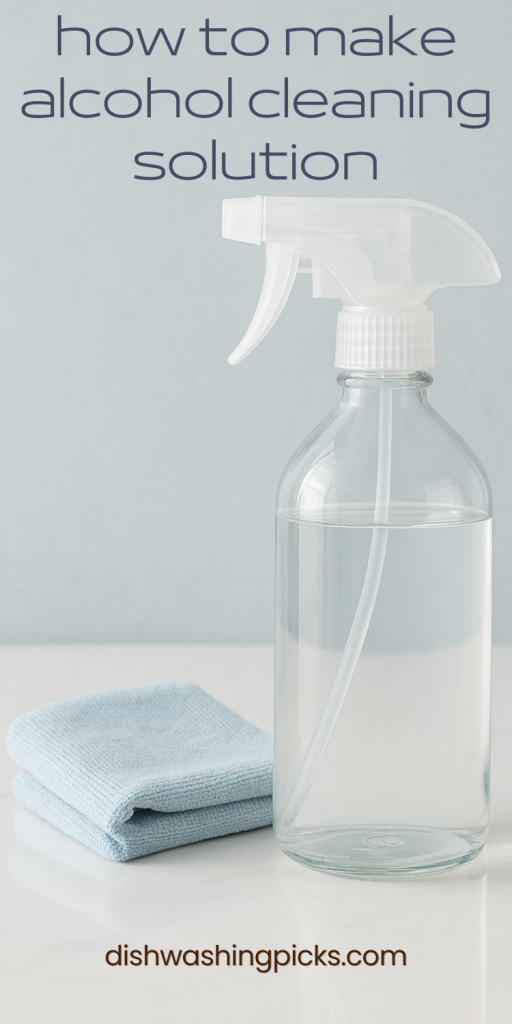
- A clean spray bottle. Bonus points if it has a fine mist setting—it makes application easier.
- Optional extras: a few drops of essential oils (like tea tree, lemon, or lavender) for a fresh scent.
Imagine lining these up on your counter—it’s like building your own little cleaning kit. No hidden chemicals, no marketing gimmicks. Just the basics.
The Mixing Process (Your DIY Recipe)
Ready to play scientist for five minutes? Here’s the simple formula:
- Start with the alcohol. Pour it into your spray bottle until it’s about two-thirds full.
- Add distilled water. Fill the remaining third.
- Shake gently. Don’t go full bartender mode—just enough to mix it up.
- Optional: add 5–10 drops of essential oil for scent.
That’s it. Seriously. You’ve just made a cleaning solution that rivals most store-bought sprays. And the best part? You know exactly what’s in it.
Where to Use It (and Where Not To)
Here’s where people usually lean in and ask: “So… can I just spray this on everything?” Good question. The short answer is no—but it does work on a lot.
Safe for:
- Phones, tablets, and laptops (spray on cloth first, not directly)
- Mirrors and glass
- Stainless steel appliances
- Bathroom sinks and faucets
- Door handles, remotes, light switches
Skip it on:
- Unsealed wood
- Painted or varnished surfaces that might peel
- Delicate fabrics or leather
Think of it this way: if it’s smooth, hard, and often touched, this cleaner is your best friend. If it’s porous or fancy-looking, test a small area first—or avoid it altogether.
Pro Tips for Best Results
- Label your bottle. Future you will forget what’s inside—trust me.
- Use microfiber cloths. They clean better and don’t leave lint behind.
- Don’t drown electronics. Spray on the cloth, then wipe.
- Make small batches. Alcohol evaporates over time, so fresh is always better.
Little tweaks like these make your DIY cleaner even more effective (and safer).
Wrapping It Up
So there you go—your very own alcohol cleaning solution. It’s budget-friendly, simple to make, and way more versatile than you might think. Next time you see fingerprints on your phone, streaks on your mirror, or sticky spots on your counter, you won’t need to dig through store shelves. You’ll have your own DIY mix ready to roll.
Try thinking of it like this: instead of buying “solutions,” you’ve created one. That’s a win for your wallet, your health, and your inner DIY spirit.
