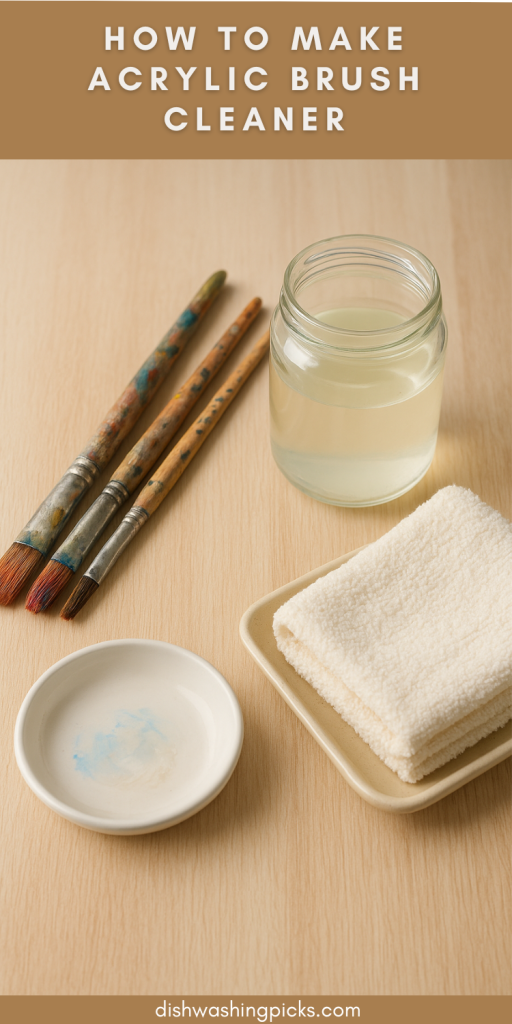
Why This Even Matters
If you’ve ever dabbled with acrylic paints, you know the struggle: your brush starts off looking crisp and fluffy, but after a few sessions, it’s stiff, clumpy, and feels like it’s been dipped in glue. Sound familiar? Yeah, I’ve been there too. And let’s be real—buying those fancy “specialty brush cleaners” every time can add up.
So here’s the good news: you don’t need to shell out big bucks to keep your acrylic brushes in top shape. With a few things you probably already have at home, you can make your own acrylic brush cleaner. And the best part? It’s easy, affordable, and surprisingly effective.
Imagine this—you’re mid-painting, and instead of stressing about ruining another brush, you’ve got a homemade cleaner right next to you. Clean brush, clean strokes, clean mind.
Alright, let’s break down exactly how to make it.
What You’ll Need (Spoiler: Nothing Fancy)
Before we roll up our sleeves, let’s take a look at the shopping list. And no, you don’t need to raid the art store. Chances are, you’ll find most of these in your kitchen or bathroom cabinet:
- Mild dish soap (the kind that cuts grease but is gentle)
- Warm water
- White vinegar (for those extra stubborn paint clumps)
- A small jar or cup
- Paper towels or an old rag
That’s it. Seriously. No magic potion, no overpriced bottle with “professional” slapped on the label.
Now that we’ve got the basics, let’s talk about how to actually put this stuff to work.
The Step-by-Step Process
Okay, picture this: you’ve just wrapped up a painting session, and your brush is looking like it went through a paint explosion. Here’s how to bring it back to life:
- Rinse Immediately – Run your brush under lukewarm water. Not too hot, not too cold. Just enough to start loosening the paint.
- Soap It Up – Add a drop (literally, just a drop) of dish soap to the bristles and gently massage it in. Work it through with your fingers—almost like you’re giving your brush a tiny spa day.
- Rinse and Repeat – If the paint is stubborn (and acrylic usually is), repeat the soap and rinse step until the water runs clear.
- Vinegar Rescue – For brushes that feel like they’re coated in cement, soak the bristles in a small cup of warm vinegar for about 10–15 minutes. This helps soften dried acrylic. Afterward, rinse again with soap and water.
- Dry Properly – Pat the brush with a paper towel or rag, then lay it flat to dry. Never store it standing upright while wet—the water seeps down and can loosen the glue holding the bristles.
And just like that, your brush is basically saying, “Thanks, I needed that.”
Pro Tips to Keep Your Brushes Alive Longer
Now, making your own cleaner is great, but let’s talk brush TLC. After all, nobody wants to be replacing brushes every other week.
- Clean right after painting. Don’t wait until the next day—once acrylic dries, it’s game over.
- Shape the bristles. After cleaning, reshape them with your fingers so they dry in their natural form.
- Use separate brushes. If you switch between acrylics and oils, dedicate brushes to each. Mixing them is a recipe for frustration.
- Condition occasionally. A tiny dab of hair conditioner on your brush bristles (yes, really) keeps them soft and flexible.
Think of it like skincare—routine matters more than one-time fixes.
Wrapping It Up
So there you have it: a simple, no-fuss way to make your own acrylic brush cleaner at home. No need for pricey art-store solutions, no stress over ruined brushes. Just soap, water, a splash of vinegar, and a little care.
Next time you’re painting, try this out. Your brushes will last longer, your wallet will thank you, and your art sessions will feel way less stressful.
Now, here’s the real question: are you going to keep babying those brushes, or let them become crusty sticks of sadness? (I know which option I’d pick.)
