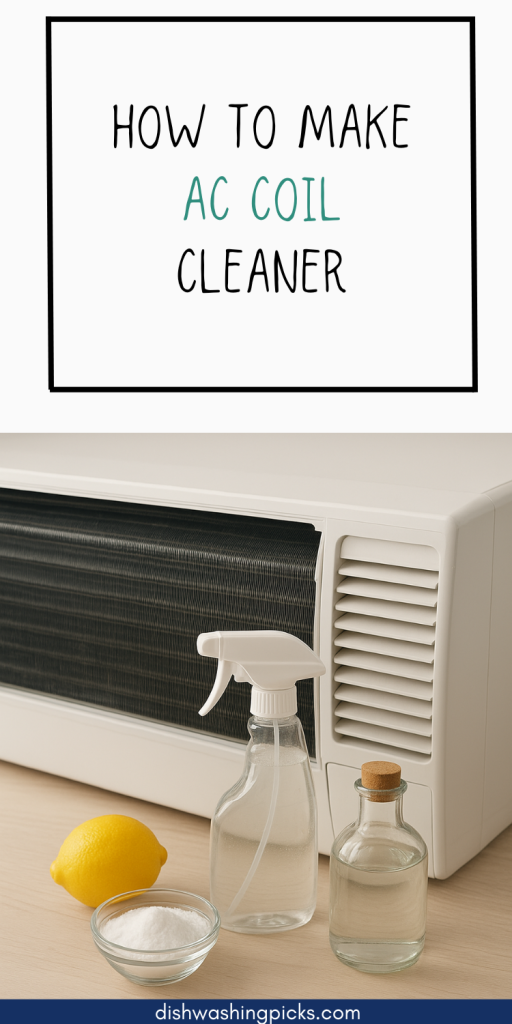
Let’s face it—your air conditioner works hard all year, and those coils? They catch dust, dirt, and sometimes even mysterious gunk you didn’t know existed. A dirty coil makes your AC less efficient and your energy bills higher. But before you panic and call a pricey service, imagine this: a simple DIY AC coil cleaner you can make at home. Sounds good, right?
Why Clean Your AC Coils?
You might be thinking, “Do I really need to clean the coils?” The answer: yes, and here’s why:
- Better Efficiency – Clean coils let your AC cool faster without overworking.
- Lower Bills – Less strain = less energy wasted.
- Longer Lifespan – A happy coil means a happy AC that lasts longer.
- Healthier Air – Dust and mold on coils can circulate in your home.
Think of it this way: your AC works hard keeping you cool. Don’t you want to return the favor with a little TLC?
What You’ll Need
Making a DIY AC coil cleaner is surprisingly simple. Here’s your shopping list:
- Warm water – Helps dissolve dirt and grime
- Mild dish soap – Cuts through grease and dust
- White vinegar – Great for mold or mineral buildup
- Spray bottle or garden sprayer – For easy application
- Soft brush – Optional, for stubborn spots
- Gloves and safety goggles – Safety first, especially around electricity
Quick tip: Always turn off the AC and unplug it before touching the coils. Safety > shortcuts.
How to Make Your AC Coil Cleaner
Here’s a step-by-step DIY method:
- Mix Your Solution
In a spray bottle or bucket, combine 2 cups warm water, 1 tablespoon dish soap, and ½ cup white vinegar. Shake gently to mix. - Apply the Cleaner
Spray or carefully pour the solution over the AC coils. Make sure to cover all surfaces but avoid over-saturating electrical parts. - Let it Sit
Give the solution 10–15 minutes to break down dust, dirt, and grime. - Gently Brush (Optional)
For stubborn spots, use a soft brush to loosen debris. Don’t press too hard—you don’t want to bend the delicate fins. - Rinse and Dry
Rinse lightly with water (avoid electrical components) or wipe with a damp cloth. Let the coils air dry before turning the AC back on.
Imagine turning on your AC and feeling that first breath of cool, clean air—sweet victory!
Tips for Maintaining Clean Coils
- Regular Checkups – Inspect your coils every 3–6 months.
- Replace Filters – Clean or replace AC filters regularly to reduce buildup.
- Keep Surroundings Clean – Dust-free areas around your AC mean less grime on the coils.
Try thinking of it like brushing your teeth: a little maintenance goes a long way in avoiding bigger problems.
Bonus Hack
If your coils are really gunky:
- Mix ½ cup baking soda with your vinegar-water solution for extra cleaning power.
- Use a spray nozzle with a gentle stream to prevent damage.
Always be patient—DIY coil cleaning takes time, but your AC will thank you.
Conclusion
Making your own AC coil cleaner is easy, cost-effective, and keeps your unit running smoothly. A few simple ingredients and a little elbow grease can save you money, energy, and a lot of stress.
Next time your AC feels sluggish, imagine grabbing your homemade coil cleaner, spritzing it on those coils, and watching your system breathe a little easier. Cool, right?
