Hey there! Have you ever stared at your cluttered kitchen or dusty bathroom and thought, “Ugh, I need to clean… but I don’t want to use all those harsh chemicals”? Yeah, we’ve all been there. Luckily, there’s a simple, safe, and super effective solution hiding in your pantry: vinegar.
Yep, the same stuff you put on your salad can also make your surfaces sparkle. Imagine this: a clean kitchen, a fresh-smelling bathroom, and zero toxic fumes—all thanks to a tiny bottle of vinegar. Pretty neat, right?
So, let’s break it down. Making a vinegar cleaning spray is not rocket science. In fact, it’s so easy, you’ll wonder why you ever bought store-bought sprays in the first place.
Step 1: Gather Your Supplies
Before we start spraying, let’s make sure you have everything ready. Don’t worry, it’s minimal.
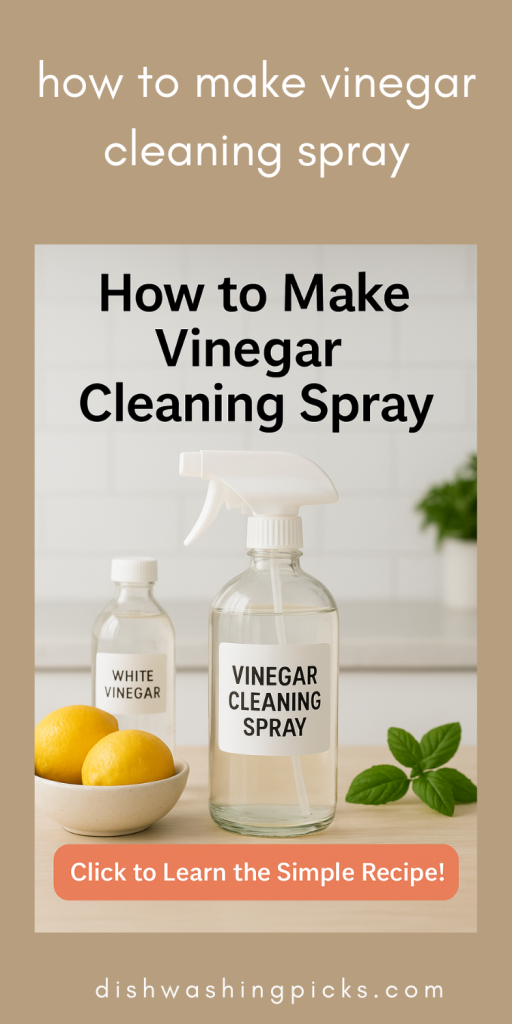
- White distilled vinegar: This is the hero of our story. Cheap, effective, and natural.
- Water: To dilute the vinegar—otherwise, it’s a little too strong for your surfaces.
- Spray bottle: Any clean bottle will do. Bonus points if it’s reusable!
- Optional extras: A few drops of essential oils (like lemon or lavender) for a nice scent, or a teaspoon of baking soda for extra scrubbing power.
See? That’s it. Five minutes, a couple of common ingredients, and you’re almost ready to clean like a pro.
Step 2: Mix Your Spray
Here’s where the magic happens. Think of this as your “DIY potion” moment.
- Fill the bottle halfway with vinegar.
- Add an equal amount of water. So if your bottle is 1 cup, use ½ cup vinegar and ½ cup water.
- Optional: Add 5–10 drops of essential oil for a fresh scent. Lemon, tea tree, or lavender all work beautifully.
- Close the bottle and shake gently. That’s it—you’ve got your vinegar cleaning spray ready to go.
Step 3: Using Your Spray
Now comes the fun part. This spray isn’t just for show—it actually works!
- Spray on countertops, sinks, windows, and mirrors.
- Wipe with a clean cloth or sponge.
- For stubborn stains or grime, let the spray sit for a few minutes before scrubbing.
Pro tip: Avoid using vinegar on natural stone like granite or marble—it’s acidic and can dull the surface. But for glass, tiles, sinks, and most kitchen surfaces? You’re golden.
Step 4: Make It Smell Amazing
Okay, let’s be honest—vinegar alone can smell a bit… potent. But don’t worry, a few simple tweaks can turn it into a pleasantly fresh cleaner.
- Citrus twist: Add 5–10 drops of lemon, orange, or lime essential oil. Not only does it smell amazing, but the extra acidity helps cut through grease.
- Herbal vibes: Lavender or eucalyptus oils make your cleaning routine feel fancy and spa-like. Imagine spritzing your bathroom and getting that calming scent instantly.
- Minty freshness: Peppermint oil works wonders on your kitchen counters and leaves a refreshing scent that lingers lightly.
Pro tip: Start with a few drops, shake, and test the scent. You can always add more, but you don’t want to overpower your space.
Step 5: Creative Cleaning Uses
Here’s where things get fun. Your vinegar spray isn’t just a “surface cleaner”—it’s basically a Swiss Army knife for your home.
- Windows & mirrors: Spray, wipe with a microfiber cloth, and watch streaks vanish like magic.
- Shiny faucets & sinks: Spritz, let sit for a few minutes, then wipe. Goodbye water spots!
- Microwave & stovetop: Spray on stubborn grime, let it sit, then wipe. For tough spots, sprinkle a little baking soda first for extra scrubbing power.
- Fridge & pantry: Lightly spray shelves, wipe clean—safe, natural, and no weird chemical smell lingering.
And here’s a little bonus: odor elimination. Got a smelly garbage bin or a funky cutting board? Spray some vinegar, let it sit a few minutes, and rinse. Bye-bye odors.
Step 6: Storage & Safety Tips
Even though vinegar is natural, a few simple rules help make your DIY cleaner last longer:
- Keep it in a cool, dark place: Sunlight can weaken the effectiveness of essential oils.
- Label your bottle: “Vinegar Cleaning Spray” in big letters helps avoid accidental sipping—trust me, it’s happened before.
- Shake before each use: Especially if you’ve added oils or baking soda, to keep everything mixed.
Wrapping Up This Session
And there you have it! With just a few simple ingredients and some creative twists, you now have a versatile, natural, and super-effective cleaning spray. It’s safe for most surfaces, customizable to your favorite scents, and gives you that satisfying “I actually cleaned something” feeling.
In the next session, we can explore advanced hacks and specialized cleaning tricks—like tackling tough stains, using it in laundry, and combining it with other natural ingredients for maximum power.