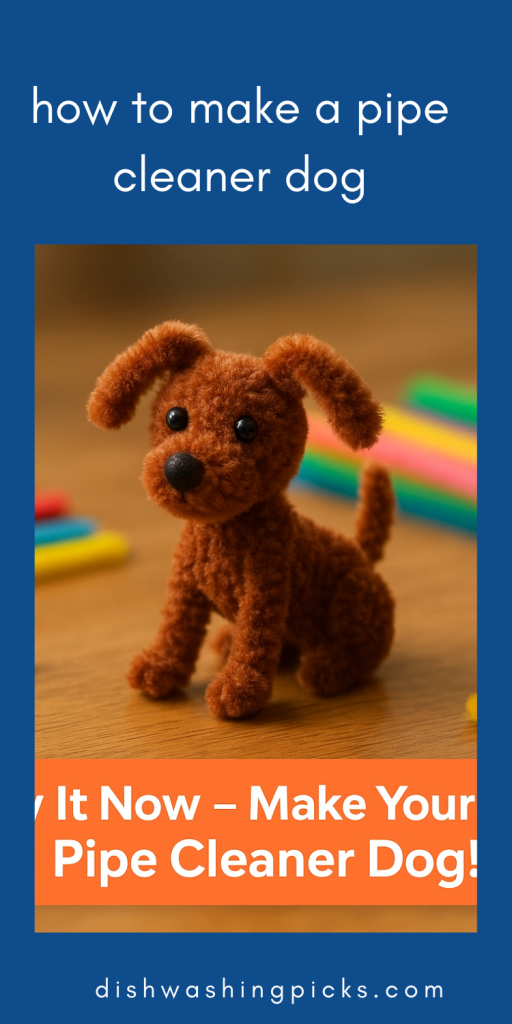
Let’s be honest — few things are as satisfying as crafting something cute with your own hands. And if you’ve ever wondered how to make a pipe cleaner dog easy, you’re in for a treat. This little DIY project is not only simple and fun, but it’s also one of those crafts that actually turns out looking adorable — no Pinterest fails here!
Picture this: you’ve got a few colorful pipe cleaners in front of you, maybe a cozy playlist in the background, and within minutes, you’re twisting, bending, and shaping your very own mini pup. Sounds fun, right?
Now, before you say, “I’m not really the crafty type,” trust me — this one’s foolproof. You don’t need glue, fancy tools, or hours of patience. This is a pipe cleaner dog no glue type of project — just your hands, a few fuzzy wires, and some imagination.
Whether you’re doing this with kids, making tiny decorations, or just need a relaxing creative break, this tutorial has got you covered. By the end, you’ll know exactly how to make a pipe cleaner dog step by step with pictures (and yes, I’ll describe each part clearly so you can follow along even without visuals).
Imagine this: you twist a few pipe cleaners, shape the ears, add a little tail, and suddenly — you’ve got a loyal little buddy sitting on your desk. Pretty satisfying, huh?
But before we get our paws dirty (pun totally intended), let’s grab our materials. Don’t worry, you won’t need anything you don’t already have lying around.
What You’ll Need (and a Few Handy Tips)
Alright, ready to get started? Before we dive into shaping your pup, let’s talk about what you’ll actually need. Spoiler alert: not much. That’s one of the best things about pipe cleaner crafts — they’re simple, affordable, and perfect for all ages.
Here’s your short and sweet shopping list for this pipe cleaner dog no glue project:
Materials:
- Pipe cleaners (3–5 pieces) — go for brown, black, or white if you want a realistic dog, or mix colors if you’re feeling wild (blue and pink pup, anyone?).
- Scissors — for trimming any extra length.
- A pencil or pen — optional, but great for shaping small curls like tails or legs.
- Beads or tiny pom-poms (optional) — for eyes or a nose if you want extra detail.
That’s it! No glue, no mess, no stress. Everything stays in place just by twisting and bending — which is why this is one of the easiest easy pipe cleaner animals step by step with pictures-style crafts you’ll ever try.
A Few Quick Tips Before You Start:
- Use soft pipe cleaners — they bend more easily and hold shape better.
- Twist tightly where you want parts to stay in place (like the legs or neck).
- Leave a bit of fluff at the ends — it makes your dog look softer and cuter.
- Don’t aim for perfection. Seriously, the charm of pipe cleaner animals is in their wonky little personalities.
Imagine this: you’re about to twist the first piece and see your creation slowly take shape. Each twist gets you closer to a tiny masterpiece. Kind of addictive, right?
Now that you’ve got your gear ready, let’s move on to the fun part — actually making your puppy come to life.
Step-by-Step – How to Make a Pipe Cleaner Dog (Easy and Fun!)
Okay, ready? Let’s bring your little fuzzy friend to life. This is the part where you’ll twist, bend, and shape your pipe cleaners into something that actually looks like a dog. And don’t worry — it’s way easier than it sounds.
Here’s how to make a pipe cleaner dog step by step with pictures (described visually).
Step 1: Make the Head and Snout
Grab one pipe cleaner (let’s say brown).
Bend one end into a small oval loop — this will be the dog’s head.
Now twist it once to lock the shape in place.
Leave a short piece sticking out from the loop — that’ll be the snout.
Tip: If you want a smaller, cuter pup, keep the head loop tiny — about the size of a grape.
Now imagine this: you’ve got a little oval at one end of your pipe cleaner, looking kind of like a balloon animal’s head. Cute already, right?
Step 2: Shape the Body
Take the long end of the same pipe cleaner and fold it back to make the body.
Make it about twice the size of the head.
Twist the ends together once or twice to keep it sturdy — that’s your dog’s torso done!
You should now have a “bone-shaped” outline — head on one end, a long middle, and an open bit where we’ll attach legs later.
Step 3: Add the Legs
Grab another pipe cleaner and cut it in half.
Each half will make a pair of legs.
Twist one piece around the front of the body for the front legs, and the other around the back for the hind legs.
Bend the bottom ends to make little paws — or curl them around a pencil for a rounder look.
Pro tip: Want your dog to stand tall? Widen the stance. Want it to look like it’s sitting? Bend one set of legs at an angle.
Step 4: Ears and Tail
For the ears, use a short piece of pipe cleaner.
Attach it to the top of the head and shape into triangles for pointy ears, or loops for floppy ones.
Then, for the tail, twist another small piece onto the back.
Curl it slightly so it looks lively — like your dog’s happy to see you.
And just like that, you’ve got a recognizable little pipe cleaner dog — no glue, no hassle, just pure creativity.
Step 5: Finishing Touches
Now it’s all about personality.
You can add tiny beads for eyes, or a black pom-pom for the nose if you want to get fancy.
But honestly? It already looks adorable as is.
Take a moment to admire your work. You just made a pipe cleaner animal from scratch — how cool is that?
How to Make a Pipe Cleaner Cat (and Other Cute Animals)
Now that you’ve mastered the art of making a pipe cleaner dog, it’s time to expand your little zoo! If dogs are loyal and lively, cats are their mysterious, elegant counterparts — and yes, making one out of pipe cleaners is just as easy (maybe even easier).
So, if you’ve been wondering how to make a cat pipe cleaner, grab a few new colors — maybe orange for a tabby, black for a midnight cat, or white for a classy look.
Ready? Let’s do this, step-by-step!
Step 1: Build the Body
Start with one pipe cleaner.
Bend it in half and twist to create an oval shape — this will be your cat’s body.
Make sure it’s a bit slimmer than the dog’s; cats are sleeker and more flexible.
Imagine this: a tiny feline stretching out for a nap — that’s the vibe we’re going for.
Step 2: Add the Head
Take another short piece of pipe cleaner and roll it into a small circle.
Attach it to the body by twisting one end onto the front.
Now bend the top into two little pointy ears — because what’s a cat without those adorable triangles?
You can even pinch the tips to make them sharp and expressive — like your cat’s listening for treats.
Step 3: Legs and Tail
Use two short pieces (or cut one in half) for the legs — same as the dog, one for the front, one for the back.
For the tail, twist a long, thin pipe cleaner onto the rear end.
Here’s the fun part: bend it into an “S” shape to make it look like it’s swishing — instant cattitude!
Tip: Wrap the tail around a pencil to give it that elegant curl cats are known for.
Step 4: Finishing Touches
Use tiny beads or dots of black felt for the eyes and nose (optional, of course — this can still be a pipe cleaner animal no glue craft).
If you want whiskers, snip a few thin white threads and twist them right under the nose area — adorable!
And just like that, you’ve got a pipe cleaner cat ready to play alongside your pipe cleaner dog. Maybe they’re best friends… or maybe the dog’s chasing it around. Either way, they look great together.
Other Easy Pipe Cleaner Animals (Step by Step)
Once you’ve got the hang of twisting and shaping, you can make all kinds of cute creatures:
- Pipe cleaner bunny: make a small round body, add long ears and a tiny tail.
- Pipe cleaner turtle: shape a shell by spiraling one piece, then add four tiny legs.
- Pipe cleaner butterfly: twist two pieces into wings and one for the body — bright colors work best!
Each of these follows the same simple principles — twist, bend, and shape. The beauty is, there’s no wrong way to do it.
FAQs
How to Make Pipe Cleaner Fluffy Animals?
Learn step-by-step techniques to twist, bend, and fluff pipe cleaners into cute animal shapes. Tips include layering pipe cleaners, shaping tails and ears, and adding texture for a fluffy effect.
How to Make Dog Ears Out of Pipe Cleaners?
Discover simple methods to create realistic or cartoon-style dog ears using pipe cleaners. You can bend, curl, or twist them and attach them to your pipe cleaner dog’s head.
What Can I Use If I Don’t Have a Pipe Cleaner?
Explore alternatives such as yarn, floral wire, chenille stems, or twist ties to craft similar shapes when pipe cleaners aren’t available.
How to Make a Pipe Cleaner Animal Book?
Step-by-step guide to creating an interactive book where each page features a pipe cleaner animal. Includes tips on attaching animals to pages and designing fun layouts for kids.
Conclusion & Creative Uses for Your Pipe Cleaner Pets
And there you have it — your very own pipe cleaner dog, a cute little pipe cleaner cat, and maybe even a few bonus animals hopping or fluttering around. Who knew a few fuzzy wires could turn into such a cheerful mini menagerie?
Now, you might be thinking: Okay, they’re adorable… but what do I do with them?
Oh, friend — the possibilities are endless.