You know those moments when you just need to make something with your hands? Maybe it’s a rainy afternoon, or you’re babysitting, or you simply want to feel like a creative genius for a few minutes. Well, grab some pipe cleaners, because we’re about to twist, curl, and sparkle our way into crafting the cutest pipe cleaner butterfly ever.
And don’t worry — this isn’t one of those complicated Pinterest fails waiting to happen. Nope. We’re keeping it simple, colorful, and fun enough for both kids and adults. You ready? Let’s flutter right in.
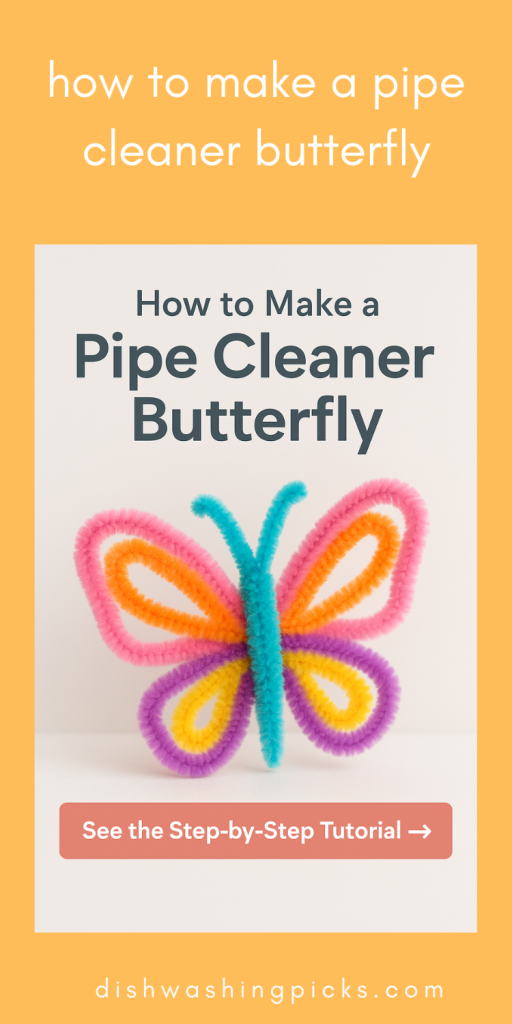
Pipe Cleaner Butterfly with Beads
Alright, picture this: you’ve got a few fuzzy, colorful pipe cleaners spread out in front of you and a tiny bowl of beads that look like candy (but please don’t eat them — we need them for the sparkle factor).
Here’s what you’ll need:
- 3 or 4 pipe cleaners (any colors that make you smile)
- A handful of beads (clear or sparkly ones look magical)
- Scissors (just in case you need to trim)
- Optional: a small piece of string if you want to hang your butterfly later
Now here’s the magic part — the step-by-step that turns fluff and wire into art:
- Twist the body:
Take one pipe cleaner and fold it in half. That’s your butterfly’s body. Give it a couple of twists so it looks like a small, fuzzy stick. - Add the beads:
Slide a few beads onto that twisted body. Think of it as giving your butterfly a stylish beaded dress. - Make the wings:
Take another pipe cleaner, form a loop on one side, and twist it in the middle to hold it. Do the same for the other side so it looks like a figure-eight. Repeat that step with another pipe cleaner for the bottom pair of wings. - Bring it all together:
Wrap the wings around the beaded body and give it a gentle twist to secure everything. Adjust the wings a little — spread them out, bend the edges, give them that natural butterfly look. - Add some flair:
Pop in a few more beads on the antennae (because why not?), or even glue a tiny gem in the center.
And there you have it — your first pipe cleaner butterfly with beads! Cute, right?
Try holding it up to the light. See how the beads sparkle like tiny fairy lights? That’s the charm of handmade crafts.
Before you know it, you’ll have a whole swarm of these little guys decorating your desk, fridge, or even your potted plants.
Pipe Cleaner Butterfly Template
Okay, real talk — have you ever made a craft, stepped back, and thought, “Hmm… why does one wing look like it went to the gym while the other skipped arm day?” 😅
That’s where a pipe cleaner butterfly template saves the day. Think of it as your little crafting GPS. It gives your butterfly perfect, balanced wings without the “oops” moments.
What’s a Butterfly Template, Anyway?
It’s basically a simple outline you can trace or follow to bend your pipe cleaners evenly. You can draw one yourself (super easy), or find one online. All you need is:
- A plain sheet of paper
- A pencil or marker
- Optional: a printed butterfly outline
How to Make (and Use) Your Template
- Draw the outline:
Sketch a simple butterfly shape — two top wings, two bottom ones. It doesn’t need to be perfect! The trick is keeping both sides roughly the same size. - Place your pipe cleaners on top:
Take your pipe cleaners and lay them directly on the outline. Start bending and shaping along the lines like you’re tracing a coloring book. - Twist to connect:
When you’ve got all four wings ready, twist them together in the middle where the body should go. (Remember the beaded body from before? That’s where it attaches!) - Adjust and decorate:
Once everything’s in place, gently bend the wings to give them that natural, fluttery look. Add beads, glitter, or even mini pom-poms if you’re feeling extra fancy.
Imagine this — a table covered with colorful templates, beads sparkling in the light, and everyone focused, tongues sticking out in deep crafting concentration. That’s the good stuff right there.
Pro tip: If you’re crafting with kids, tape the template down so it doesn’t slide around while they’re shaping their pipe cleaners. You’ll thank yourself later!
Pipe Cleaner Butterfly Ring Instructions
Alright, imagine this: you’re rocking a handmade pipe cleaner butterfly ring, and someone asks, “Whoa, where’d you get that?”
And you get to smile and say, “Oh this? I made it myself.” Instant legend status.
This one’s quick, easy, and ridiculously fun — perfect for craft parties, classroom projects, or when you just need a five-minute creativity fix.
What You’ll Need
- 2 or 3 pipe cleaners (colors that make you happy — or match your outfit!)
- Optional beads (for a little bling)
- Scissors
- Your finger — yes, that’s your measuring tool!
Step-by-Step Instructions
- Form the Ring Base:
Take one pipe cleaner and wrap it gently around your finger. Not too tight — we’re going for comfort chic, not circulation risk.
Twist the ends together to secure it, then trim off any excess if it’s too long. Voilà — you’ve got your ring base. - Create the Wings:
Grab another pipe cleaner and make two small loops on each side, just like you did with your original butterfly wings. This time, make them mini-sized so they’ll fit nicely on your finger. - Attach the Butterfly:
Twist the middle of the wings onto the ring base you just made. It should look like a tiny butterfly perched right on top. - Add Sparkle (Because Why Not?):
Slide a few tiny beads onto the center or even the wing edges. You can go classic and subtle, or full disco-ball energy — your call! - Adjust the Shape:
Carefully fluff the wings, bend them a bit, and position them so they sit nicely on your hand. Try it on and give yourself a little hand model moment.
And there it is — your very own pipe cleaner butterfly ring! Cute, crafty, and guaranteed to make people smile.
Tip: If you’re making several, try color-coding them — rainbow butterflies, metallic butterflies, pastel butterflies — each one with its own vibe.
Butterfly Pipe Cleaner and Coffee Filter
Okay, let’s set the scene. You’re sipping your morning coffee, feeling crafty, and suddenly think: Hmm… these filters could totally become butterfly wings.
Crazy? Maybe. Genius? Absolutely.
This classic craft is a crowd favorite because it’s part art project, part mini science experiment — and 100% satisfying to watch unfold.
What You’ll Need
- White coffee filters (the round ones work best)
- Washable markers (the brighter, the better!)
- A spray bottle with water (or a small cup and brush)
- A couple of pipe cleaners
- Paper towels (because yes, things might get a little splashy)
Step-by-Step Magic
- Flatten and Decorate:
Take your coffee filter and flatten it out. Now, go wild with your markers! Doodle, swirl, or even just dot random colors — the more chaotic, the cooler it’ll look later. - Spray (or Paint) with Water:
Lightly mist the coffee filter with water. Watch as the colors start to bleed and blend into each other like watercolor art. It’s mesmerizing — seriously, just enjoy the moment. - Let It Dry:
Give it a few minutes to dry (you can speed things up with a hairdryer if you’re impatient, no judgment here). - Create the Butterfly Body:
Once it’s dry, pinch the middle of the filter to create two fluffy wings on each side. Wrap a pipe cleaner around the center, twist it tight, and curl the ends to make cute little antennae. - Optional Sparkle Upgrade:
Feeling fancy? Add a few beads to the antennae or sprinkle on a bit of glitter. Because who doesn’t love a sparkly butterfly?
And there you have it — your stunning coffee filter butterfly! It’s colorful, lightweight, and perfect for decorating walls, gifts, or even hanging by a window to catch the sunlight.
Imagine this: a bunch of these hanging in a classroom or your living room window, gently swaying in the breeze. Total serotonin boost.
Pipe Cleaner Animals
Alright, we’ve mastered butterflies. Now let’s turn up the imagination dial a little. Pipe cleaners aren’t just for wings and antennae — they can become pretty much any animal you dream up. Think of them as the LEGO of the craft world: twist, bend, build, repeat.
And the best part? No glue explosions, no complicated tools — just you, some fuzzy sticks, and pure creativity.
The Pipe Cleaner Snake (The Starter Animal)
Let’s start easy. Take one long green pipe cleaner and twist it around a pencil. Slide it off and — bam! — instant snake coil.
Add two tiny beads for eyes and bend one end into a tongue shape. That’s it. Simple, slithery, and weirdly adorable.
The Tiny Turtle
Now for something a bit cuter. Grab four small pipe cleaner pieces for the legs, one for the head, and twist them onto a circular body shape.
If you’ve got a green pom-pom or a small ball handy, glue it in the center — instant turtle shell!
The Giraffe (For the Bold Ones)
This one’s where you show off. You’ll need yellow and brown pipe cleaners.
- Twist a few yellow ones together for the body and neck.
- Add two brown spots (just wrap short brown pieces here and there).
- Fold two small pieces on top of the head for horns.
You now have your own fuzzy giraffe — no safari needed.
Bonus: The Elephant Trick
This one’s fun — take two gray pipe cleaners. Shape one into a big round body and the other into a long trunk. Attach them, and add mini loops for ears. Suddenly, you’ve got an elephant that fits in your palm!
Try this: line up your animals for a “mini zoo” display. Kids (and let’s be honest, adults too) love naming them — “Mr. Wiggles,” “Sergeant Snappy,” “Fluffasaurus”… you get the idea.
Pipe Cleaner Crafts
So, you’ve already conquered butterflies, made wearable art, and even built your own fuzzy zoo. What now?
Well, my friend, welcome to the universe of pipe cleaner crafts — where literally anything you imagine can come to life with a twist and a bend.
Let’s explore a few fun (and surprisingly easy) ideas that’ll make you want to stock up on a lifetime supply of these bendy little wonders.
Pipe Cleaner Flowers
Who needs real flowers that wilt when you can make your own bouquet that lasts forever?
Grab a few bright-colored pipe cleaners and twist them into loops for petals. Use a green one as the stem and maybe even wrap another around the middle for that “floral center.”
Add a few leaves, and — boom! — zero-maintenance flowers that’ll brighten up your desk or window sill.
Bonus idea: stick them into a piece of foam or a tiny vase to create a cheerful, permanent bouquet.
Cute Little Insects
Already nailed the butterfly? Try making its friends!
A couple of black and yellow pipe cleaners can become a bumblebee (just wrap them together for stripes). Add tiny wings from clear plastic or paper, and suddenly, you’ve got a mini bee buzzing around your craft table.
Ladybugs, dragonflies, caterpillars — the options are endless.
DIY Decorations
Want to add a crafty touch to your room or a party?
Make colorful stars, spirals, and hearts using metallic or glittery pipe cleaners. String them together for garlands, or hang them individually with fishing line for that floating, whimsical effect.
Imagine this: a bunch of pipe cleaner butterflies and stars dangling above your workspace — instant happiness boost.
Personalized Gifts
Nothing says “I care” like a handmade creation. You can attach a pipe cleaner butterfly or flower to a wrapped gift, or even twist someone’s name out of pipe cleaners as a unique gift tag. It’s personal, creative, and guaranteed to make them smile.
Wrapping It Up
So next time you’re staring at a pile of pipe cleaners thinking, “What can I possibly do with these?” — you’ll know exactly what to do.
Start small. Twist. Shape. Laugh at your first few weird-looking creations. Then keep going — because before long, you’ll have butterflies, rings, animals, and colorful crafts all over your space.
It’s creative, it’s relaxing, and best of all — it’s pure fun.
Now it’s your turn: grab a handful of pipe cleaners, put on some music, and see what magic your hands can make. Who knows? You might just surprise yourself.