Let’s be honest—painting is fun, but cleaning up afterward? Not so much. Paint rollers are amazing for covering walls quickly, but when it comes to scrubbing them clean, things can get messy fast. So, what if I told you there’s a simple DIY solution to make a paint roller cleaner that actually works—and saves your sanity?
Why You Need a Paint Roller Cleaner
You might be thinking, “Do I really need a special cleaner for my roller?” Yes, and here’s why:
- Save Money – Reusable rollers last longer when cleaned properly
- Less Waste – Say goodbye to tossing out half-used rollers
- Better Results Next Time – A clean roller applies paint more evenly
- Avoid Stress – Nobody likes a crusty roller dripping paint all over the place
Imagine being able to pop your roller into a homemade cleaner and have it come out looking brand new. Heaven, right?
What You’ll Need
The materials for a DIY paint roller cleaner are surprisingly simple:
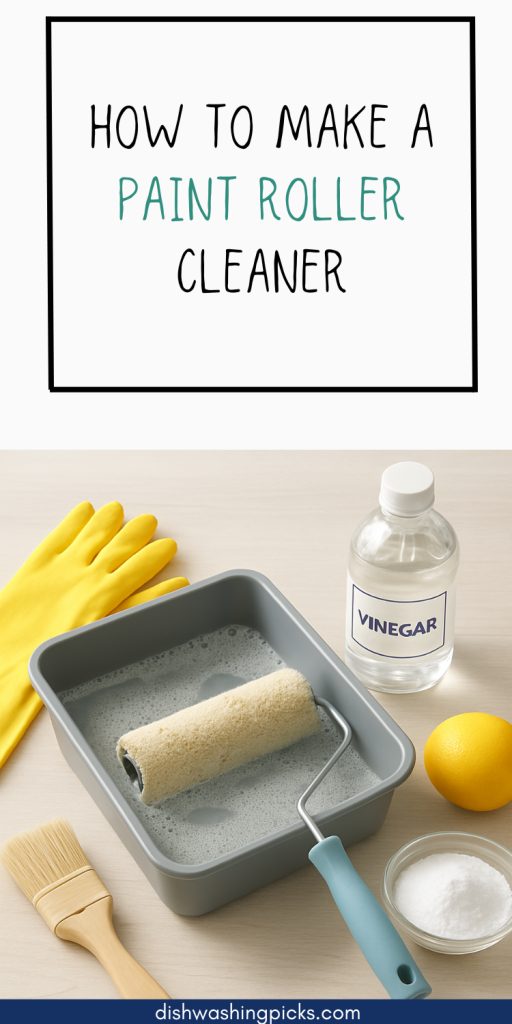
- A bucket or container – Big enough to fit your roller
- Warm water – Helps loosen dried paint
- Dish soap – Gentle but effective on both water-based and latex paints
- White vinegar (optional) – Great for tough, dried-on paint
- A wire brush or comb – To help separate and clean the roller fibers
Optional: gloves, because paint cleanup is not always glamorous.
How to Make Your Paint Roller Cleaner
Here’s a step-by-step method for making a paint roller cleaner:
- Fill the Bucket
Add warm water and a few squirts of dish soap. If you’re dealing with dried paint, mix in a cup of white vinegar to help soften it. - Soak the Roller
Submerge the roller in the bucket and let it sit for 15–30 minutes. This loosens paint stuck in the fibers. - Scrub Gently
Use a wire brush or a specialized roller comb to gently separate the fibers and remove excess paint. - Rinse Thoroughly
Rinse the roller under warm running water until the water runs clear and all soap and paint residue are gone. - Dry Properly
Shake out excess water and let the roller dry standing up or hanging so it doesn’t flatten the fibers.
Quick tip: For stubborn paint, repeat soaking and scrubbing instead of scrubbing harder—you’ll save your roller and your hands.
Using Your Roller Cleaner Regularly
- After Every Job – Even a quick rinse after a small project prevents paint from hardening.
- Weekly Maintenance – If you use your rollers frequently, give them a deeper soak once a week.
- Storing Rollers – Keep clean rollers wrapped in plastic or in a dry container to maintain fluffiness.
Picture this: A clean roller ready to go, no streaks, no clumps, just smooth painting bliss.
Bonus Hacks
- For latex paint, warm soapy water is usually enough.
- For oil-based paints, use mineral spirits or paint thinner—but always follow safety precautions.
- A roller cleaning tool with spikes or combs makes the process faster and helps keep fibers intact.
Conclusion
Making a DIY paint roller cleaner is not only easy, it’s a total game-changer. You save money, reduce waste, and get better painting results next time. Plus, cleanup becomes a lot less of a headache.
Next time you finish a paint job, imagine just dropping your roller into your homemade cleaner and having it ready for the next project easy, efficient, and mess-free.