Have you ever noticed your furry friend scratching their ears a little more than usual? Or maybe shaking their head like they’re trying to dance the cha-cha? Yep, that’s often a sign your pup’s ears need a little TLC. Instead of running to the store for fancy solutions, you can whip up a safe, gentle dog ear cleaner right at home. Let’s walk through it together.
Why Cleaning Your Dog’s Ears Matters
Dog ears are like little hidden caves—warm, moist, and perfect for bacteria and yeast to throw a party. If left unchecked, your pup can develop infections, nasty odors, and discomfort.
Cleaning their ears regularly:
- Reduces wax buildup
- Prevents infections
- Keeps your dog comfy and happy
Imagine this: your dog’s wagging tail and relaxed posture after a painless ear cleaning session. Sounds pretty good, right?
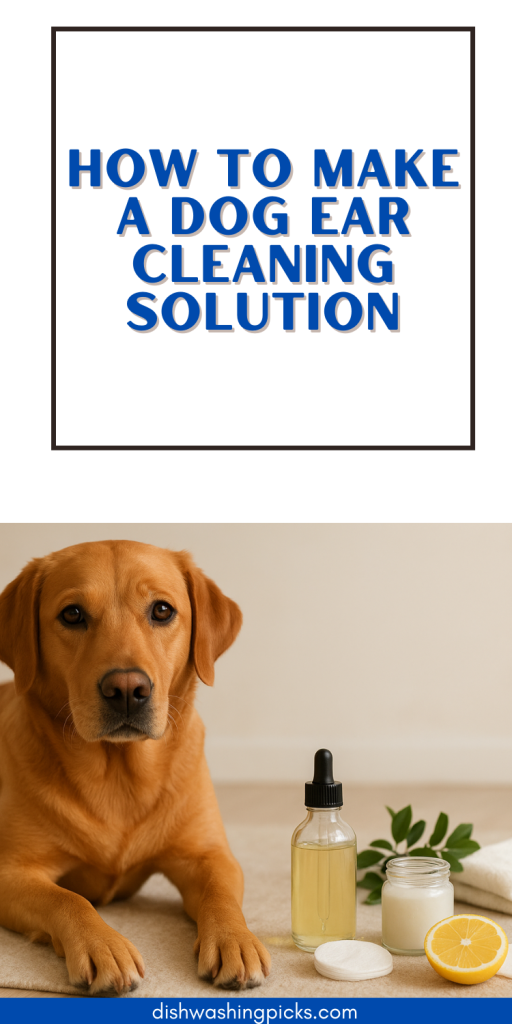
Ingredients You’ll Need
Making a dog-safe ear solution is surprisingly simple. You’ll need:
- Distilled water – prevents contamination from tap water minerals
- White vinegar or apple cider vinegar – helps restore a healthy pH and fights bacteria
- Rubbing alcohol (optional, small amount) – for drying and disinfecting (use sparingly!)
- A clean dropper or small bottle – for easy application
Quick tip: Stick to natural ingredients and avoid anything harsh like hydrogen peroxide or essential oils—they can irritate delicate ear tissue.
Step-by-Step Guide to Making Your Dog Ear Cleaner
- Mix the Solution
In a clean container, mix 1 part vinegar with 1 part distilled water. If you want a drying effect, add just a few drops of rubbing alcohol. - Prep Your Pup
Have treats ready! Comfort your dog by gently petting them and speaking in a calm, soothing voice. - Apply the Cleaner
Use a dropper to place 3–5 drops into each ear. Hold the ear flap up so the solution reaches the inner canal. - Massage the Base of the Ear
Gently massage for 20–30 seconds. Your dog might shake their head—totally normal! - Wipe Away Excess
Use a soft cotton ball or tissue to remove dirt and excess solution from the outer ear. Avoid sticking anything deep into the ear canal.
Tips for a Stress-Free Cleaning Session
- Reward your dog with treats afterward—it builds a positive association
- Clean ears weekly or as recommended by your vet
- Watch for signs of infection: redness, swelling, or bad odor—stop and consult a vet if noticed
- Keep your solution in a cool, dark place and make a fresh batch every few weeks
Try thinking of ear cleaning as a mini spa day for your dog. They’ll love the attention, and you’ll love the results.
Wrapping It Up
Making your own dog ear cleaning solution is safe, effective, and budget-friendly. With just a few ingredients and gentle handling, you can prevent infections, reduce wax buildup, and keep your dog’s ears healthy and happy. Plus, it’s a bonding moment—treats, cuddles, and a wagging tail included.