Hey there! Have you ever stumbled across a stubborn stain—maybe in your bathroom or on your kitchen tiles—and thought, “Ugh, nothing’s gonna get this off”? Well, I’ve got some good news for you. Sometimes, the solution is simpler than you think. Enter: bleach paste.
Yes, bleach has this reputation for being harsh and scary, but when you use it right, it’s a total powerhouse for tackling grime, mold, and those mysterious spots that seem to multiply overnight. And the best part? You don’t have to go grabbing industrial-strength cleaners or paying a fortune for fancy formulas. You can whip up a simple paste right at home.
Before we roll up our sleeves, though, a quick safety chat. Bleach is strong stuff. Gloves are your best friend here, and make sure the room is well-ventilated—think open windows or a fan on. And please, never mix bleach with ammonia or vinegar. Trust me, your lungs will thank you.
Now, imagine this: a creamy, spreadable paste that sticks to grout lines, sinks, and any other sneaky spots, slowly lifting away stains without you having to scrub for hours. Sounds like magic, right? Well, it’s not magic—it’s just chemistry done the right way.
In the next section, we’ll get hands-on and show you exactly how to make this bleach paste, step by step, so you can tackle those stubborn stains like a cleaning pro.
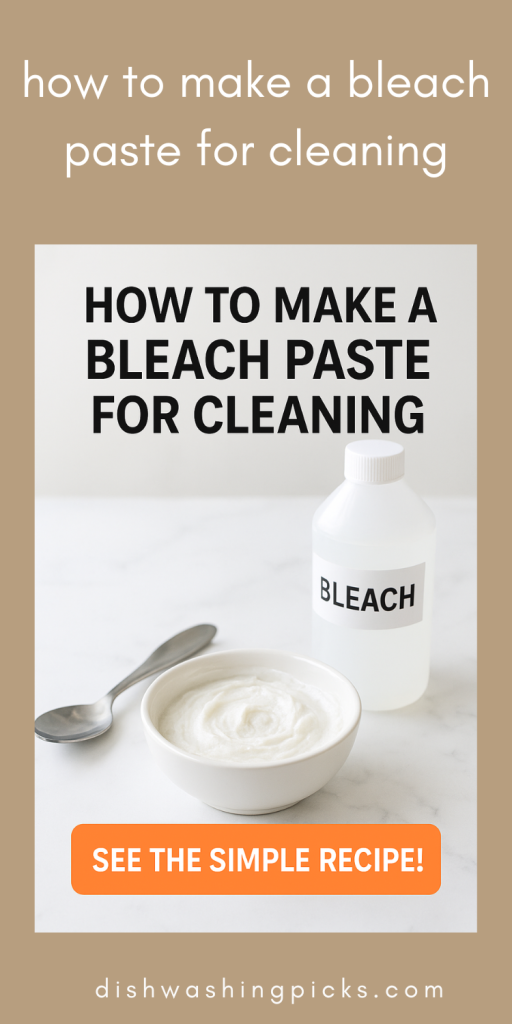
Making Your Own Bleach Paste: Step by Step
Alright, let’s get practical. Here’s what you need to make a simple, effective bleach paste:
Ingredients:
- Ordinary household bleach (yes, the regular one in the bottle works just fine)
- Baking soda (the trusty kitchen hero for scrubbing and lifting stains)
Optional: A little water, if you want to adjust the consistency.
Step 1: Grab a bowl
Nothing fancy here—just a small mixing bowl. Plastic or glass works best. Stay away from metal; bleach + metal = a not-so-fun chemical reaction.
Step 2: Add your baking soda
Start with about ½ cup. This is going to give your paste that thick, spreadable texture. Plus, baking soda itself is mildly abrasive, which helps lift stains without scratching surfaces.
Step 3: Mix in the bleach
Slowly add about ¼ cup of bleach to your baking soda. Use a spoon to mix it in gradually. The goal? A thick, creamy paste that isn’t too runny. If it’s too liquidy, add a touch more baking soda. Too thick? A splash of water will fix it.
Step 4: Test your paste
Before slathering it everywhere, try a tiny dab on an inconspicuous spot. You want to make sure it won’t discolor your surface—especially important for colored tiles or countertops.
Step 5: Apply and wait
Spread your paste over the stubborn stain, grout, or area that needs cleaning. Here’s where patience comes in: let it sit for 10–15 minutes. This gives the bleach time to work its magic.
Step 6: Scrub and rinse
Use a sponge or soft brush to scrub gently. You’ll start seeing those nasty stains give up and disappear. Finally, rinse thoroughly with water. Voilà!
Pro Tips & Safety Hacks for Using Bleach Paste
Okay, now that you’ve got your paste ready, here’s how to take it from “good” to “amazing” without any mishaps.
1. Gloves are your BFF
Seriously, bleach is powerful stuff. A thin layer of skin protection goes a long way. Nitrile or latex gloves work best. Plus, your hands will thank you later—you don’t want bleach-dry, wrinkly hands!
2. Keep it ventilated
Open a window, turn on a fan, or do your cleaning in a space with airflow. Those fumes? Not great for your lungs if you’re stuck breathing them in.
3. Timing is key
Don’t rush it. Let your paste sit for at least 10–15 minutes. This is the “magic window” where bleach and baking soda team up to attack grime. Want an extra stubborn stain gone? Let it sit a little longer, but don’t leave it overnight. Surfaces can get damaged if bleach sits too long.
4. Spot test first
This can’t be stressed enough. Even though bleach is amazing, it can discolor some surfaces. Dab a little paste somewhere hidden before going all in—especially on colored tiles, countertops, or fabrics.
5. Scrub smart, not hard
You don’t need to channel Hulk energy here. A soft brush or sponge works wonders. Scrubbing too hard could damage your tiles or grout. Think gentle, circular motions—like you’re giving your surfaces a spa treatment.
6. Rinse thoroughly
After all the scrubbing, rinse with water. Leaving bleach behind can continue to work, which is great for stains, but not so great for your surfaces or your hands.
7. Storage & leftovers
If you make extra paste, don’t store it in a metal container, and don’t keep it too long. Bleach loses potency over time, and storing it improperly can be risky. A sealed plastic container is your safest bet, but really, it’s best to mix only what you need.
Creative Uses for Your Bleach Paste
So, you’ve cleaned your grout and tiles, and everything’s sparkling. But wait—don’t put that paste away just yet! There are a few sneaky spots where it can really show off:
1. Stubborn soap scum on shower doors
Soap scum loves to hang around like that one friend who never leaves the party. Apply a thin layer of paste, let it sit for 10–15 minutes, scrub lightly, and rinse. That foggy glass? Crystal clear in no time.
2. Toilet bowls and rims
Yeah, we’re talking about the less glamorous spots. Spread the paste under the rim or on tough stains in the bowl, let it sit, scrub with a toilet brush, and flush. Say goodbye to those rings that just won’t quit.
3. Outdoor furniture or garden tiles
Summer BBQ stains, dirt, or algae on patio tiles? Your bleach paste can tackle those too. Just make sure it doesn’t touch plants, and rinse thoroughly afterward. Your patio will look like new—and you might even get a little neighborhood envy.
4. Kitchen sinks and cutting boards (non-wood)
For sinks and plastic cutting boards, a quick paste application helps remove stubborn stains or lingering smells. Pro tip: rinse extra well here since it’s a food prep area.
5. Laundry spot treatment (white fabrics only!)
Got a tough stain on white cotton or linen? Dab a tiny amount of bleach paste, wait a few minutes, then rinse. Works wonders—but only on whites. Otherwise, color disaster incoming.
Wrapping It Up: Why Bleach Paste is Your New Best Friend
So, there you have it—a simple, do-it-yourself bleach paste that’s versatile, powerful, and surprisingly easy to make. From grimy grout to soap-scummed shower doors, even outdoor tiles and white fabrics, this little paste can handle it all. And the best part? You get to be the cleaning superhero of your home without spending a fortune on fancy products.
But let’s be real—like any superhero tool, it comes with responsibility. Gloves on, ventilate the area, don’t mix with other cleaners, and always spot-test first. Follow these steps, and you’ll be amazed at how effective this simple mixture can be.
Imagine this: you’re standing back, looking at sparkling tiles, a fresh-smelling bathroom, and maybe even a slightly smug smile because, yes, you did that. That sense of satisfaction? Priceless.
So, next time a stubborn stain dares to show up, don’t panic. Whip up your bleach paste, follow the tips, and watch it disappear like magic. Cleaning doesn’t have to be a chore—it can actually be kind of…fun.
Go ahead—try it, experiment safely, and maybe even share your results with a friend. Who knew that a little baking soda and bleach could make you feel like a domestic wizard?