So, you’re installing a dishwasher—nice! No more scrubbing dishes by hand like it’s the 1800s. But before you can kick back and let your shiny new appliance do the dirty work, you’ve got to deal with something that doesn’t get much attention: the drain hose.
You might be thinking, How hard can it be? Just hook it up, right? Well, sort of. If you do it wrong, you could end up with leaks, clogs, or even wastewater backing up into your dishwasher. Gross. But don’t worry—I’ve got you covered. Let’s break it down step by step.
Step 1: Gather Your Supplies
Before diving in, make sure you’ve got everything you need:
✅ Dishwasher drain hose (should have come with your dishwasher)
✅ Hose clamps (to secure connections)
✅ Screwdriver or pliers (depending on your clamp type)
✅ Bucket or towel (because things will get wet)
✅ Zip ties or clamps (for securing the hose in place)
Got everything? Great. Let’s move on.
Step 2: Locate the Drain Connection
Your dishwasher needs to send dirty water somewhere, and there are usually two main options:
- The Garbage Disposal (if you have one)
- Most disposals have a built-in connection for a dishwasher drain hose.
- Heads up! If this is a new installation, there’s a small plug inside the disposal inlet that needs to be removed. Forget this step, and your dishwasher won’t drain!
- The Sink Drain (if you don’t have a garbage disposal)
- The hose connects to a small pipe fitting under the sink, usually before the P-trap.
- If this is your setup, you’ll need a branch tailpiece (a special fitting with a small outlet for the dishwasher hose).
Now that you know where it’s going, let’s get that hose connected.
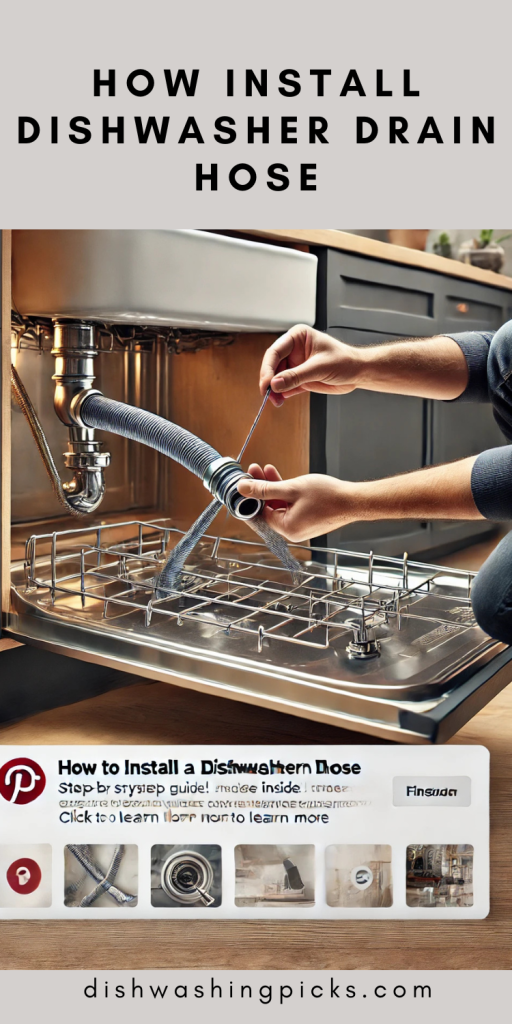
Step 3: Connect the Drain Hose
If You’re Connecting to a Garbage Disposal:
- Find the small inlet on the side of the disposal.
- Check for a knockout plug. If it’s there, use a screwdriver to pop it out.
- Slide the drain hose onto the inlet.
- Secure it with a hose clamp. Tighten it so it’s snug, but don’t overdo it—you don’t want to crack the hose.
If You’re Connecting to a Sink Drain:
- Attach the drain hose to the branch tailpiece under the sink.
- Secure it with a hose clamp.
- Make sure the hose is positioned above the drain pipe to prevent backflow (we’ll talk more about this in the next step).
Step 4: Create a High Loop (Or Install an Air Gap)
This is where a lot of people go wrong. If your drain hose isn’t installed correctly, dirty sink water can flow back into your dishwasher. Ew. To prevent this, you need to either:
Option 1: The High Loop Method
- Secure the drain hose to the underside of the counter at least 32 inches above the floor.
- Use a zip tie or clamp to hold it in place.
- This prevents backflow by keeping the hose elevated.
Option 2: Install an Air Gap (If Your Local Codes Require It)
- An air gap is a small device mounted on top of the sink or counter.
- It physically separates the dishwasher drain from the sink drain, preventing contamination.
- If your city’s plumbing code requires it, you need one—check before skipping this step!
Not sure which method to use? If you have a garbage disposal, the high loop usually works fine. But if you want extra protection, an air gap is the safest bet.
Step 5: Test for Leaks
Alright, you’re almost done. But before you call it a day, do a quick leak check:
- Run the dishwasher on a short cycle (without dishes).
- Watch the drain hose connections—any drips? If yes, tighten the clamps.
- Check under the sink or disposal to make sure everything stays dry.
No leaks? Perfect! You’re good to go.
Final Thoughts: Dishwasher Drain Hose Done Right
To recap:
✅ Choose the right connection (garbage disposal or sink drain).
✅ Remove the disposal plug (if using a garbage disposal).
✅ Secure the hose with clamps so it doesn’t leak.
✅ Use a high loop or air gap to prevent dirty water from backing up.
✅ Run a test cycle before celebrating.
And that’s it! Now your dishwasher is draining properly, and you can officially say goodbye to standing at the sink scrubbing plates.