Okay, quick reality check: your Weber grill grates are looking rough. Maybe last night’s burgers left behind a bit too much “flavor,” or that last BBQ was more charcoal than chargrilled. So now you’re staring at the mess and thinking…
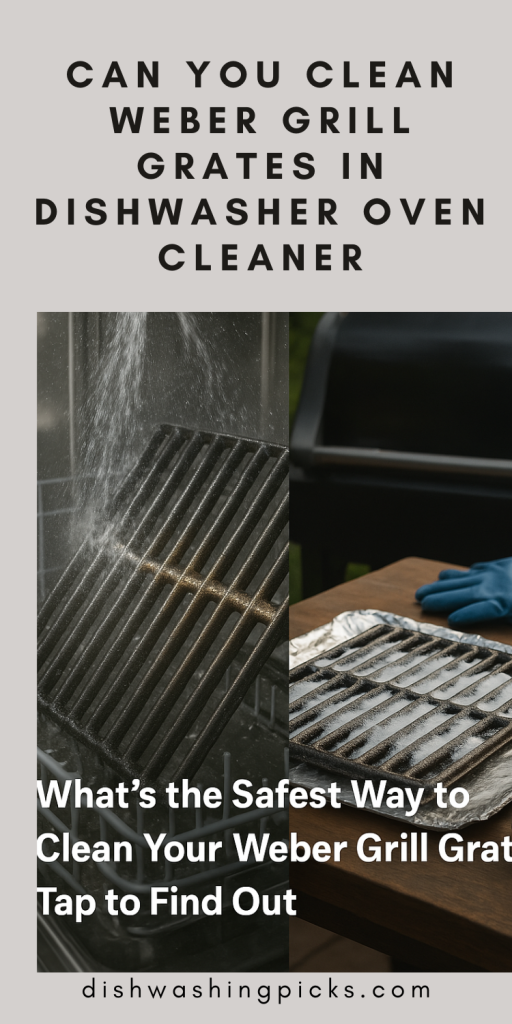
“Can I just toss these in the dishwasher and call it a day?”
Or maybe…
“What if I go full savage and hit them with oven cleaner?”
Let’s break it down—one myth, one method at a time.
🍽️ Dishwasher vs. Grill Grates: Friends or Frenemies?
So, technically, yes, you can put certain grill grates in the dishwasher. But should you?
Here’s the catch:
- If your Weber grill grates are porcelain-coated cast iron (very common), the dishwasher is a big ol’ NOPE.
Why? The dishwasher’s harsh detergents and high heat can damage that coating, which leads to rust. And once rust moves in, it doesn’t pay rent—it just wrecks everything. - If your grates are stainless steel, you might get away with it. But even then, it’s a gamble. Dishwashers aren’t designed to tackle heavy grease and burnt-on carbon. You’ll probably open the door to find them still gross… just wet.
🧽 Bottom line?
Dishwashers are for dishes. Grill grates? They need a different kind of love.
🧪 What About Oven Cleaner?
Ah yes, the nuclear option.
Oven cleaner seems like the ultimate hack, right? Spray it, wait a bit, wipe it down—boom, done. But hold up.
Here’s what you need to know:
- Most oven cleaners are super caustic. They’re loaded with lye and other chemicals that aren’t exactly food-safe.
- Using them on porcelain-coated grates can cause pitting and peeling.
- Even if you’re using it on bare metal grates, you need to rinse like your grill’s life depends on it (because, well… it kinda does).
⚠️ And do not use oven cleaner on your grill internals unless the label explicitly says it’s grill-safe. Inhaling that stuff while cooking? Yeah, let’s not.
How to Clean Weber Grill Grates (Without Destroying Them or Your Weekend)
So now that we’ve politely escorted the dishwasher and oven cleaner offstage, you’re probably thinking:
“Okay cool… so what can I use that won’t ruin the grates or my appetite?”
Great question. Here’s a lineup of solid, safe, and actually effective ways to get those grates looking fresh without overthinking it.
🔥 1. The Classic: Burn & Brush
AKA: The No-Fuss, No-Tools-Needed Method
- After cooking, crank up the heat on your grill for 10–15 minutes with the lid closed. This helps burn off most food bits and gunk.
- Then, grab your grill brush (preferably one that isn’t shedding metal bristles—nobody wants that surprise in a burger) and scrub away the ashy remains.
💡 Tip: If you don’t have a grill brush, a wadded-up ball of foil held with tongs works surprisingly well in a pinch.
🍋 2. The Natural Power Combo: Vinegar + Baking Soda
This one’s a classic because it works—and it smells way better than oven cleaner.
How to do it:
- Mix 2 parts vinegar to 1 part baking soda. It’ll fizz. That’s the good stuff happening.
- Slather the paste onto the grates and let it sit for 15–30 minutes.
- Scrub it off with a brush or sponge, rinse, and dry.
Perfect for when you want to do a deeper clean without being all science lab about it.
💨 3. The Steam-Clean Trick
Not in the mood for scrubbing? I hear you.
Here’s a low-effort hack:
- While the grill is still warm (not blazing hot—don’t burn your eyebrows), toss a sheet of wet newspaper or a damp cloth on the grates.
- Close the lid for 15 minutes. The steam loosens the grime.
- Open it up and give the grates a quick once-over with your brush or scraper.
Kinda like a mini spa day for your grill.
🧂 4. The Onion Method (No, Seriously)
This one sounds weird, but it works—and it smells good too.
- Cut an onion in half.
- While the grill is still warm, stab the onion with a fork and rub it all over the grates.
- The natural acids help break down residue, and the moisture lifts it away.
Bonus: it seasons your grates a little and gives your neighbors something to talk about.
Smart Habits to Make Cleaning Way Easier
1. Oil the Grates—Before You Cook
- Use a high smoke-point oil (like canola or avocado).
- Dip a paper towel in oil, hold it with tongs, and wipe the hot grates.
- Keeps food from sticking and makes cleanup easier.
2. Heat Is Your Friend
- After cooking, crank up the heat for 10–15 minutes to burn off residue.
- This mini “self-cleaning” cycle turns grime into easy-to-brush ash.
3. Brush While It’s Hot (or Warm)
- A quick swipe with a grill brush after the heat-up or burn-off keeps buildup at bay.
- Don’t wait for things to cool and harden—it’s way tougher to clean.
🔄 Low-Effort Tweaks with Big Payoff
• Use a Grill Mat or Foil (Smartly)
- Perfect for delicate foods or sticky marinades.
- Keeps gunk off the grates without blocking flavor.
• Try a Half-Lemon Scrub
- Rub a cut lemon on the grates while they’re hot.
- Natural acid cuts grease and leaves a fresh scent. Bonus points for looking cool.
• Keep a “Dirty Side” & a “Clean Side”
- Cook greasier stuff on one half.
- Helps localize mess, so you’re not scrubbing the whole thing every time.
Grate-Cleaning Gear That’s Worth It
1. Heavy-Duty Grill Brush (But Not Wire)
- Why: Wire bristles can break off and end up in food—yikes.
- Go for: Nylon bristle brushes (for cool grates), coil-style scrubbers, or bristle-free scrapers.
- Fan favorite: GrillArt Bristle-Free Brush or Kona Safe/Clean Grill Brush.
2. Grill Scraper (Solo or Combo Tool)
- No bristles, just pressure + edge work.
- Some match the contour of your grates for faster scraping.
- Pro tip: Get one with a bottle opener built-in. 🍻
3. Steam Cleaner or Grill Stone
- Steam option: Water in a heat-safe tray or use a wet rag on hot grates.
- Grill stones: Pumice-like blocks that conform to your grate shape—eco-friendly and satisfying to use.
4. Drip Pan Liners
- Saves you from scrubbing the bottom of the grill.
- Disposable or reusable—just swap ‘em out after a few uses.
5. Oil Sprayer
- Fine mist of high smoke-point oil = better nonstick surface.
- Bonus: You’ll use way less oil and still get the benefits.
💡 Little Extras That Help Big Time
- Dedicated grill tongs & tools: Keeps cross-contamination (and mess) down.
- Grill cover: Not sexy, but keeps the grime, rain, and critters away.
- Hook or caddy for brushes: If it’s easy to grab, you’ll actually use it
lean Grill Routine (Quick & Painless)
After Every Cookout (5–10 mins)
- Crank the Heat 🔥
- Leave burners on high (or coals hot) for 10 mins.
- This burns off food bits + grease.
- Scrape While It’s Hot 🧽
- Use a bristle-free brush or scraper.
- Easier now than later, trust.
- Optional: Lemon Rub or Damp Rag Swipe 🍋
- For a fresh finish, rub grates with a cut lemon or damp rag using tongs.
- Check the Drip Pan 💧
- Empty it if it’s full or getting gross.
- Use foil liners to make this brainless.
Once a Month (or So)
- Deep-ish Clean:
Remove grates, scrub with warm soapy water, rinse, and dry. - Clean Burner Protectors / Flavorizer Bars
Knock off any big buildup—these affect heat distribution. - Wipe Down the Exterior
Keeps it looking sharp and extends the life of your grill.
Every Season (or 2–3 Times a Year)
- Full Deep Clean:
Disassemble and clean grates, burners, firebox, drip tray.
Use a vacuum or shop vac for ash/gunk.
Reseason grates if cast iron. - Inspect for Rust, Leaks, or Damage
Better to fix it now than mid-burger flip.