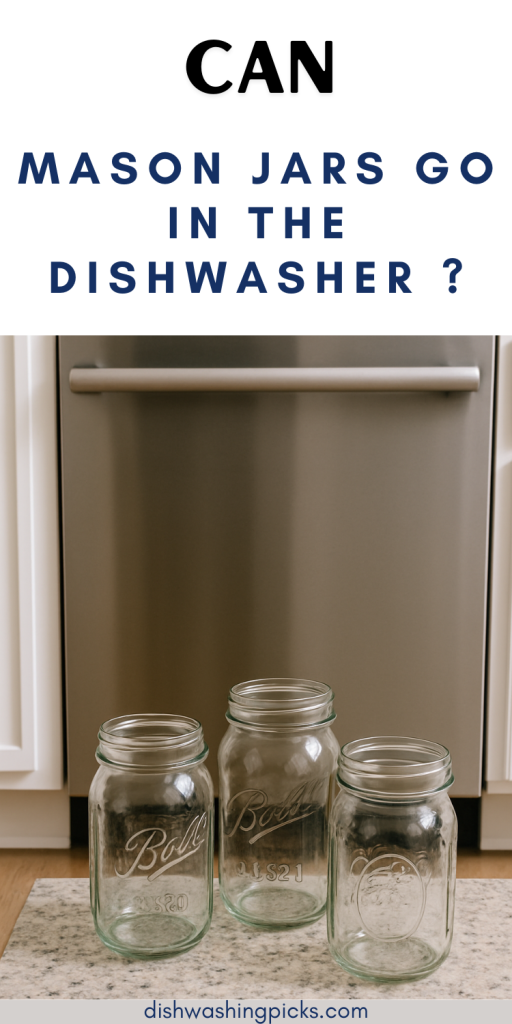
Alright, first thing’s first…
You’ve got a collection of mason jars—maybe you’re into canning, salad prepping, meal-prepping, or just love those cute jars for crafts and storage. You’ve washed them a couple of times by hand, and now you’re thinking:
“Can I just toss these in the dishwasher and chill?”
Totally fair question. And the quick answer? Yes!, but with a few caveats. Let’s spill the tea.
✅ Step 1: Glass is usually dishwasher-safe.
Mason jars are made from sturdy glass—designed to handle heat. Most of them can take a spin in the dishwasher just fine (top rack preferred). That said, there are a few things to keep in mind.
Why top rack?
- It’s cooler, less direct heat = less stress on glass.
- Keeps them away from the heating element, so they’re less likely to crack.
Pro tip: Place them upright or upside-down depending how your dishwasher sprays water. Just make sure they’re not touching each other—you want air and water to circulate freely.
🚫 Step 2: Be careful with fancy lids, bands, and seals.
Mason jars are more than just glass. They’ve got metal bands and sometimes silicone seals. These aren’t all dishwasher-proof:
- Metal bands may tarnish or rust if they spend every cycle in hot water.
- Rubber gaskets or silicone rings can warp or degrade over time, especially on the bottom rack.
So here’s the strategy: put the glass jars in the top rack, hand-wash the bands and seals, then reassemble once everything’s dry.
🔥 Step 3: Watch out for extreme heat on old or decorative jars.
Got vintage or decorative mason jars? Some older versions (pre-1970s or fancy collector’s editions) might have weaker glass or paint that doesn’t thrive in hot cycles.
If they’re hand-me-downs, gifts, or super sentimental, stick to the gentle cycle and skip high-heat drying. And hey—air dry them for safety.
🏗️ Step 4: Pack them smart—no collisions.
Dishwasher loading is Tetris meets real life. For mason jars:
- Don’t let them bang into each other during the cycle.
- Spacing is key—use the cutlery slot or dividers if they fit.
- Put them between plates if needed to stabilize them.
They bounce more than you’d think—no need for broken glass drama.
⏱️ Step 5: Drying tips
After the cycle, open the dishwasher a bit to let steam escape. This avoids water pooling in the jars or bands. Then, towel dry the metal parts to keep them looking fresh.
So, should you do it?
If your jars are:
- Standard canning-jar glass
- With plain stainless lids (no fancy paint)
- Used for food, crafts, or storage
…then yes, dishwashing is a time-saver.
Just remember: remove bands, air small silicone bits, don’t mix fancy vintage pieces with dishwasher heat, and everyone’s happy.
Final recap: Easy checklist
- Glass jars → top rack, upright, spaced
- Bands/seals → hand-wash and dry
- Old/decorative jars → use gentle cycle
- After cycle → open door, dry parts, reassemble
So go ahead. Save yourself the elbow grease. Toss those mason jars in the dishwasher—smartly—and chill while they come out sparkling. You’ve earned it. 😉
