

 Mohamed
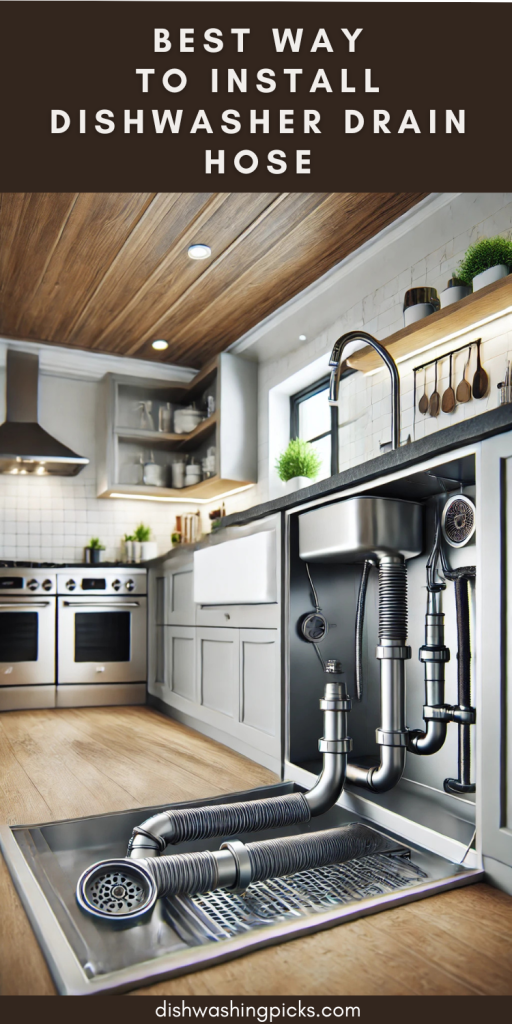
Installing a dishwasher drain hose might not be the most thrilling DIY project, but trust me, getting it right can save you from leaks, clogs, and unnecessary headaches down the road. If you’ve ever wondered, “Is there a right way to do this?”—the answer is yes! Let’s break it down step by step to make sure your dishwasher drains smoothly and efficiently.
Step 1: Gather Your Tools & Materials
Before diving in, make sure you have everything you need. Here’s what you’ll want to have on hand:
- Dishwasher drain hose (usually included with your dishwasher)
- Hose clamps (to secure the hose)
- Screwdriver (for tightening clamps)
- Pipe wrench (if needed for existing connections)
- Zip ties (for securing the hose to prevent kinks)
- Bucket & towels (just in case there’s any water left in the pipes)
Step 2: Locate the Drain Connection
Your dishwasher drain hose typically connects to one of two places:
Everything You Need for This Project!
- The garbage disposal: If your kitchen has a garbage disposal, there’s usually a small inlet for the dishwasher hose.
- The sink drain: If you don’t have a disposal, the hose connects to the drainpipe under the sink.
Step 3: Create a High Loop (or Install an Air Gap)
One of the most crucial steps is ensuring dirty water from the sink doesn’t flow back into your dishwasher. There are two ways to prevent this:
Not Sure Which Dishwasher to Buy?
Answer 4 quick questions and get your perfect match — based on real owner data
Find My Dishwasher →Free • No signup • Results in 10 seconds
🔧 Emergency Repair Help?
Don't risk a flood or a DIY disaster. Speak with a local certified technician for a Free Repair Quote.
CALL NOW: (888) 217-0640Available 24/7 in the United States. Fast & Reliable.
- High Loop Method: Secure the drain hose as high as possible under the sink before connecting it to the drain.
- Air Gap Installation: Some local plumbing codes require an air gap—a small fitting mounted on the sink or countertop that prevents backflow.
Step 4: Secure the Connections
Once you’ve chosen the right setup, it’s time to attach the hose securely:
- Slide the drain hose onto the designated port (garbage disposal or sink drain).
- Use hose clamps to tighten the connection and prevent leaks.
- Make sure there are no kinks in the hose—this can slow or stop drainage.
Step 5: Test Your Installation
Before calling it a day, run a test cycle to check for leaks:
- Start a dishwasher cycle and let it fill with water.
- Listen for proper draining when the cycle reaches that stage.
- Check under the sink for any leaks or drips.
- Tighten any loose connections if needed.
Conclusion
And there you have it! Installing a dishwasher drain hose isn’t rocket science, but doing it correctly ensures smooth operation and prevents messy plumbing issues. Whether you use the high loop method or an air gap, securing the hose properly and testing for leaks will keep your dishwasher running efficiently. Ready to give it a go? Grab those tools and get started!


